Project Setup
Projects are similar to folders that store your HOLOPHONIX Presets, 2D drawings, 3D models, HRTF files, and other resources.
Create a new project
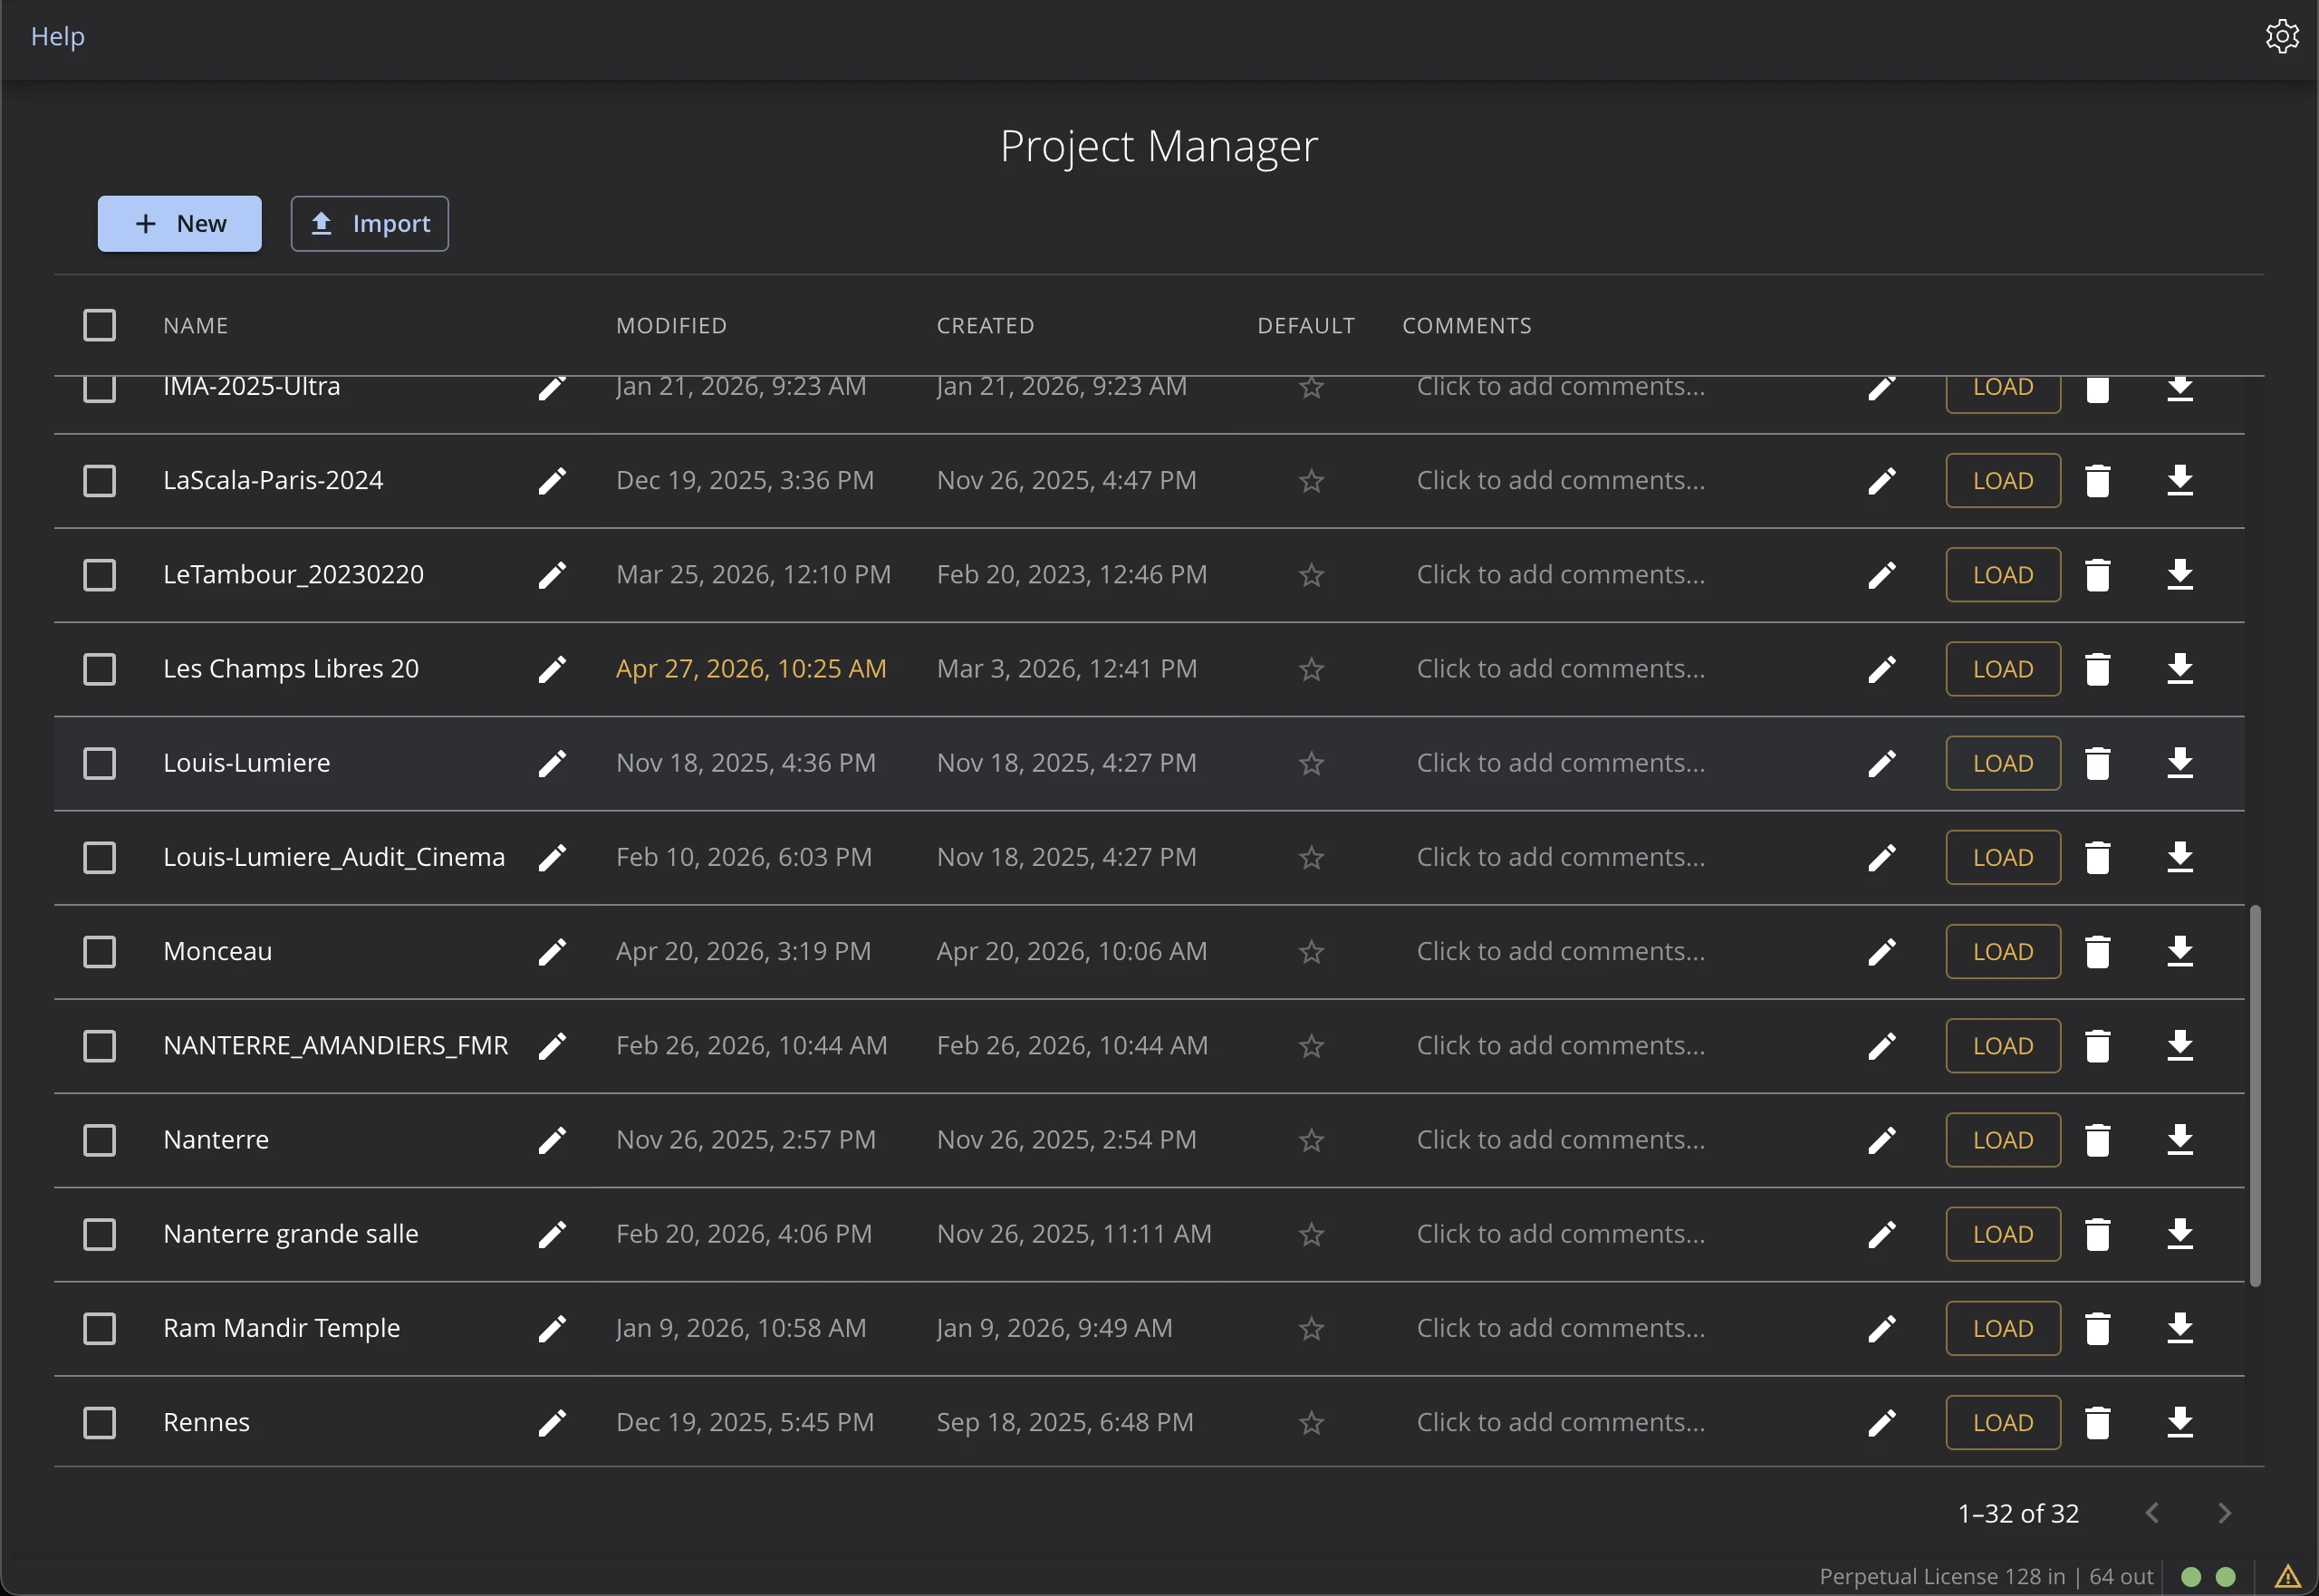
To create a new project or load an existing one, go to the File menu, and select Open Project Manager.... If you are opening HOLOPHONIX for the first time, or if no project is loaded, then the Project Manager window will be automatically displayed at startup.
Click on the New button, and fill in the project's name. You can also import an existing project with the Import button.
In HOLOPHONIX Designer, the platform to simulate can only be changed while no project is loaded. See Change the platform.
Setup the Default Project
You can define a Default Project that will be automatically loaded at startup. Click on the "★" (star) icon to choose the default project.
Import a 3D Model or 2D Drawings of the room
The HOLOPHONIX user interface relies on a 3D visualization engine, which you can use to position your objects (Sources and Speakers). To help you with space visualization, you can load a 3D Model of your room, or simpler 2D Drawings.
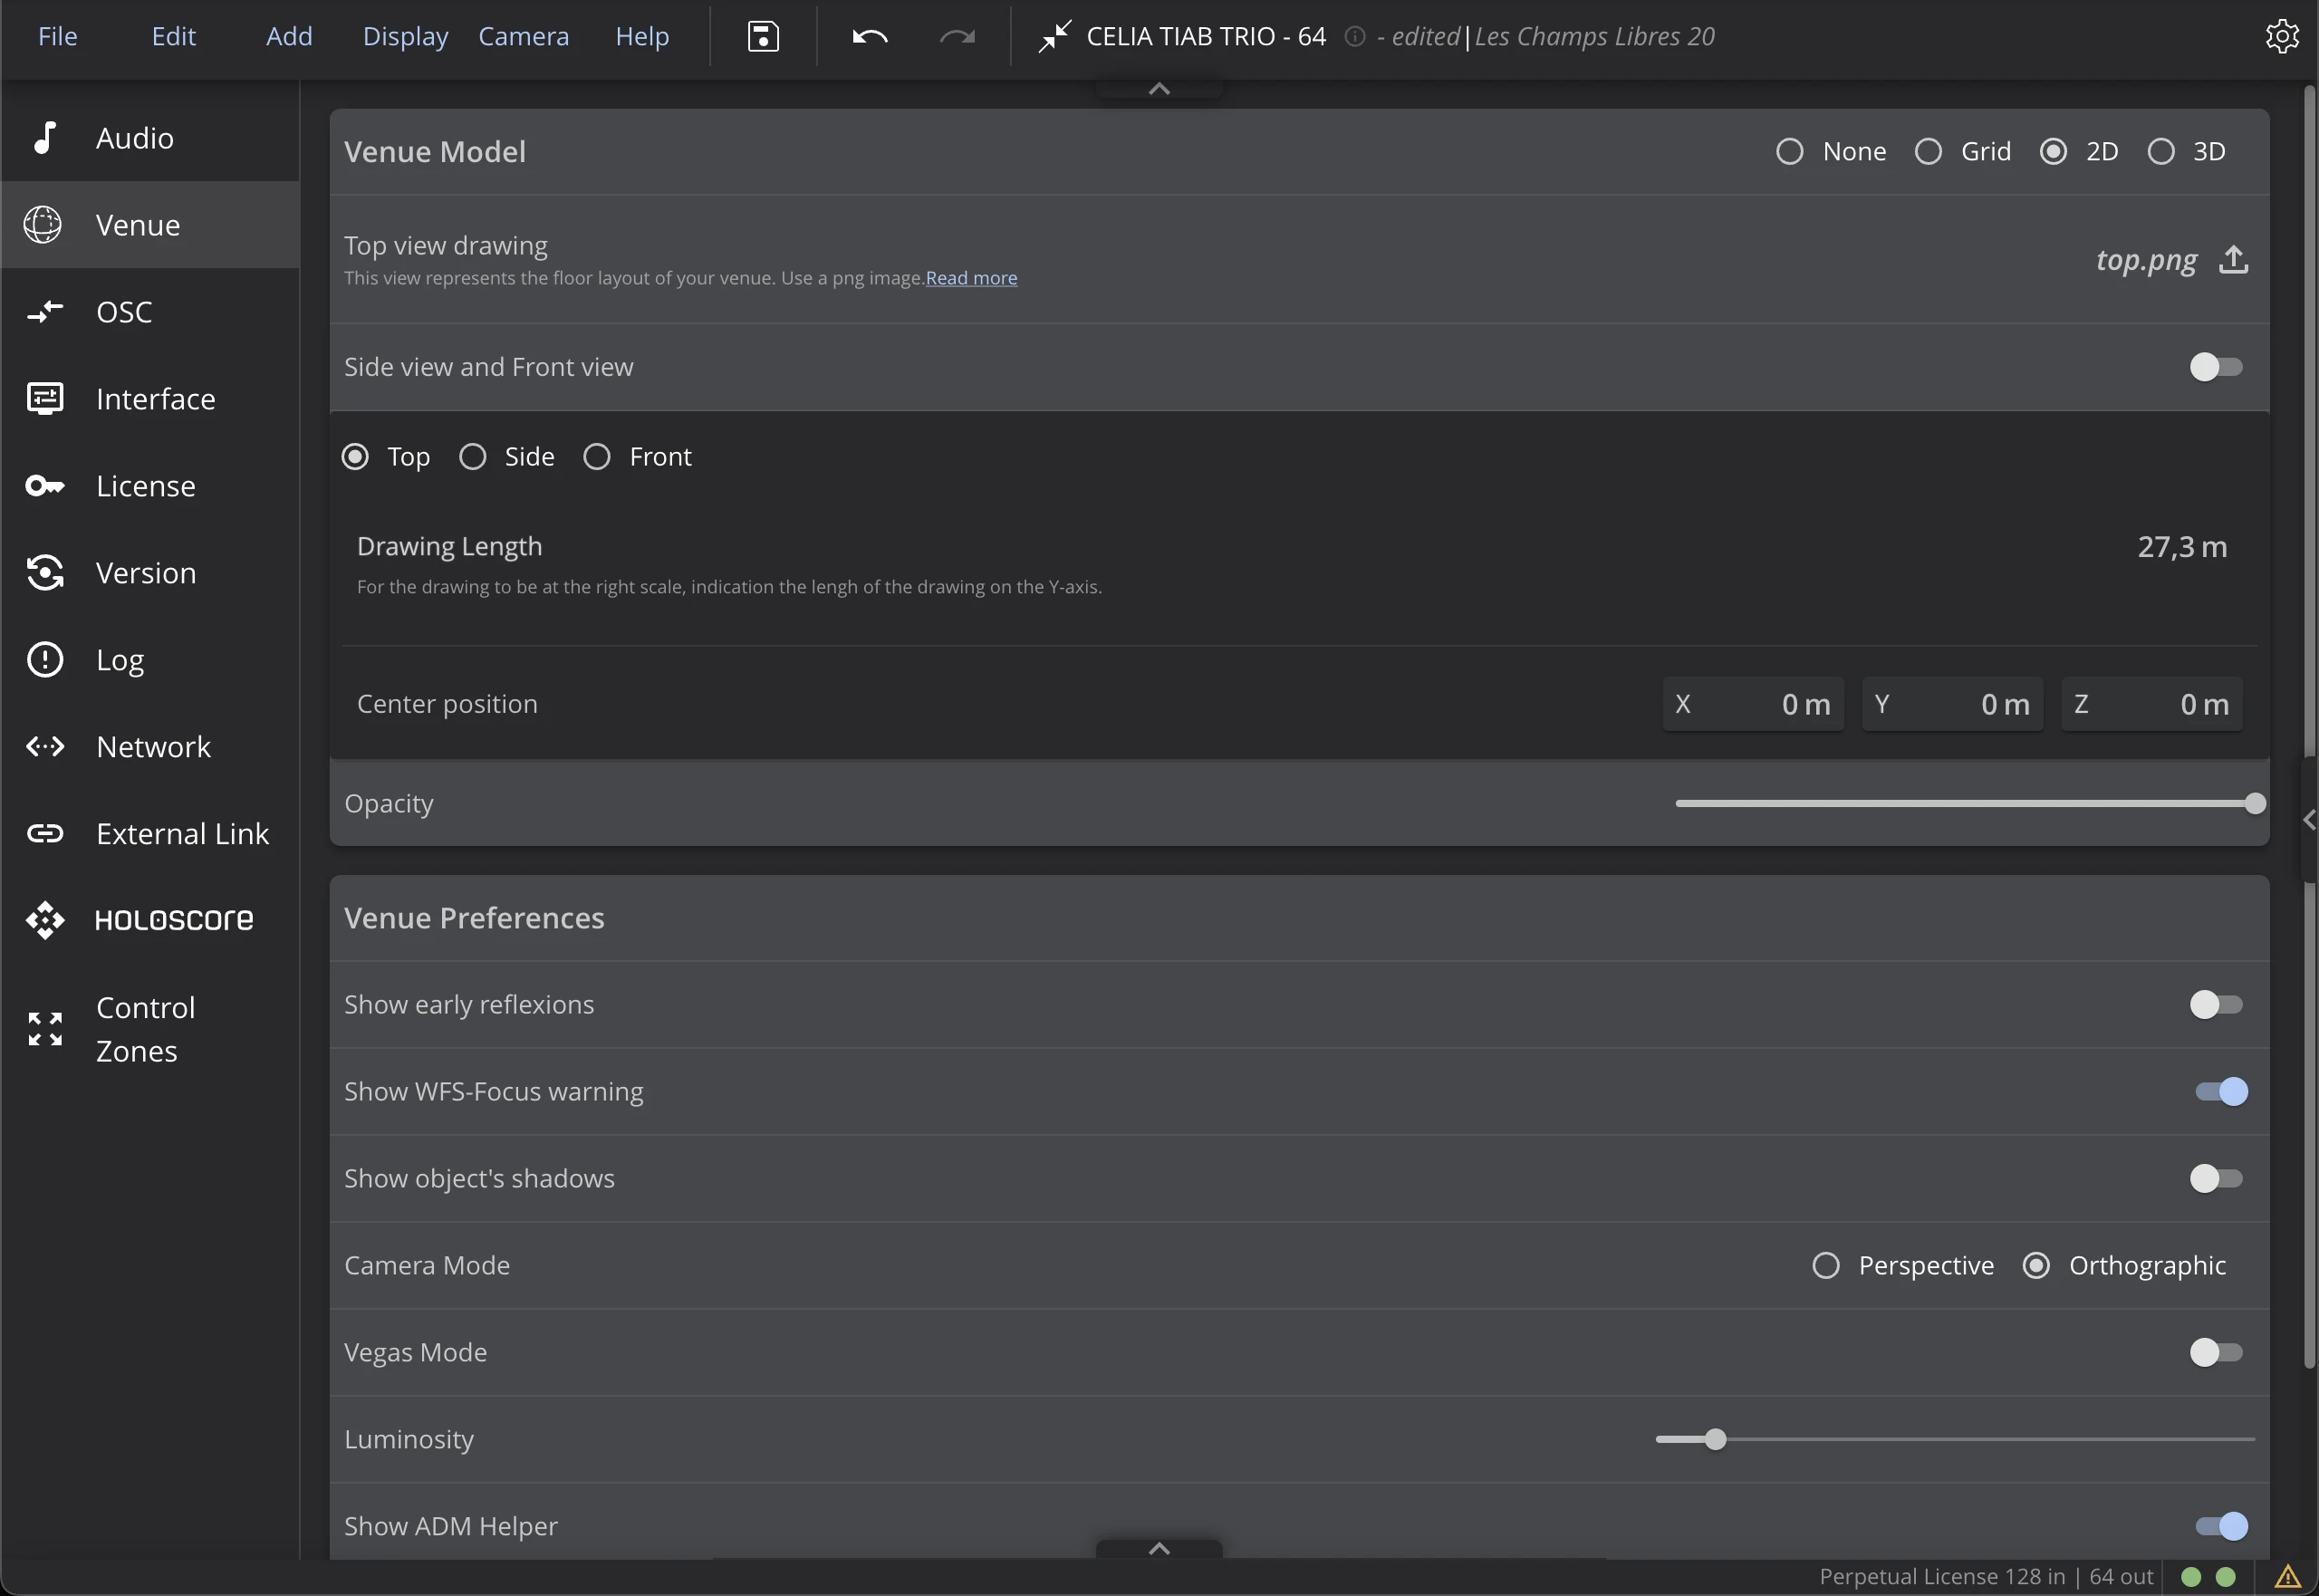
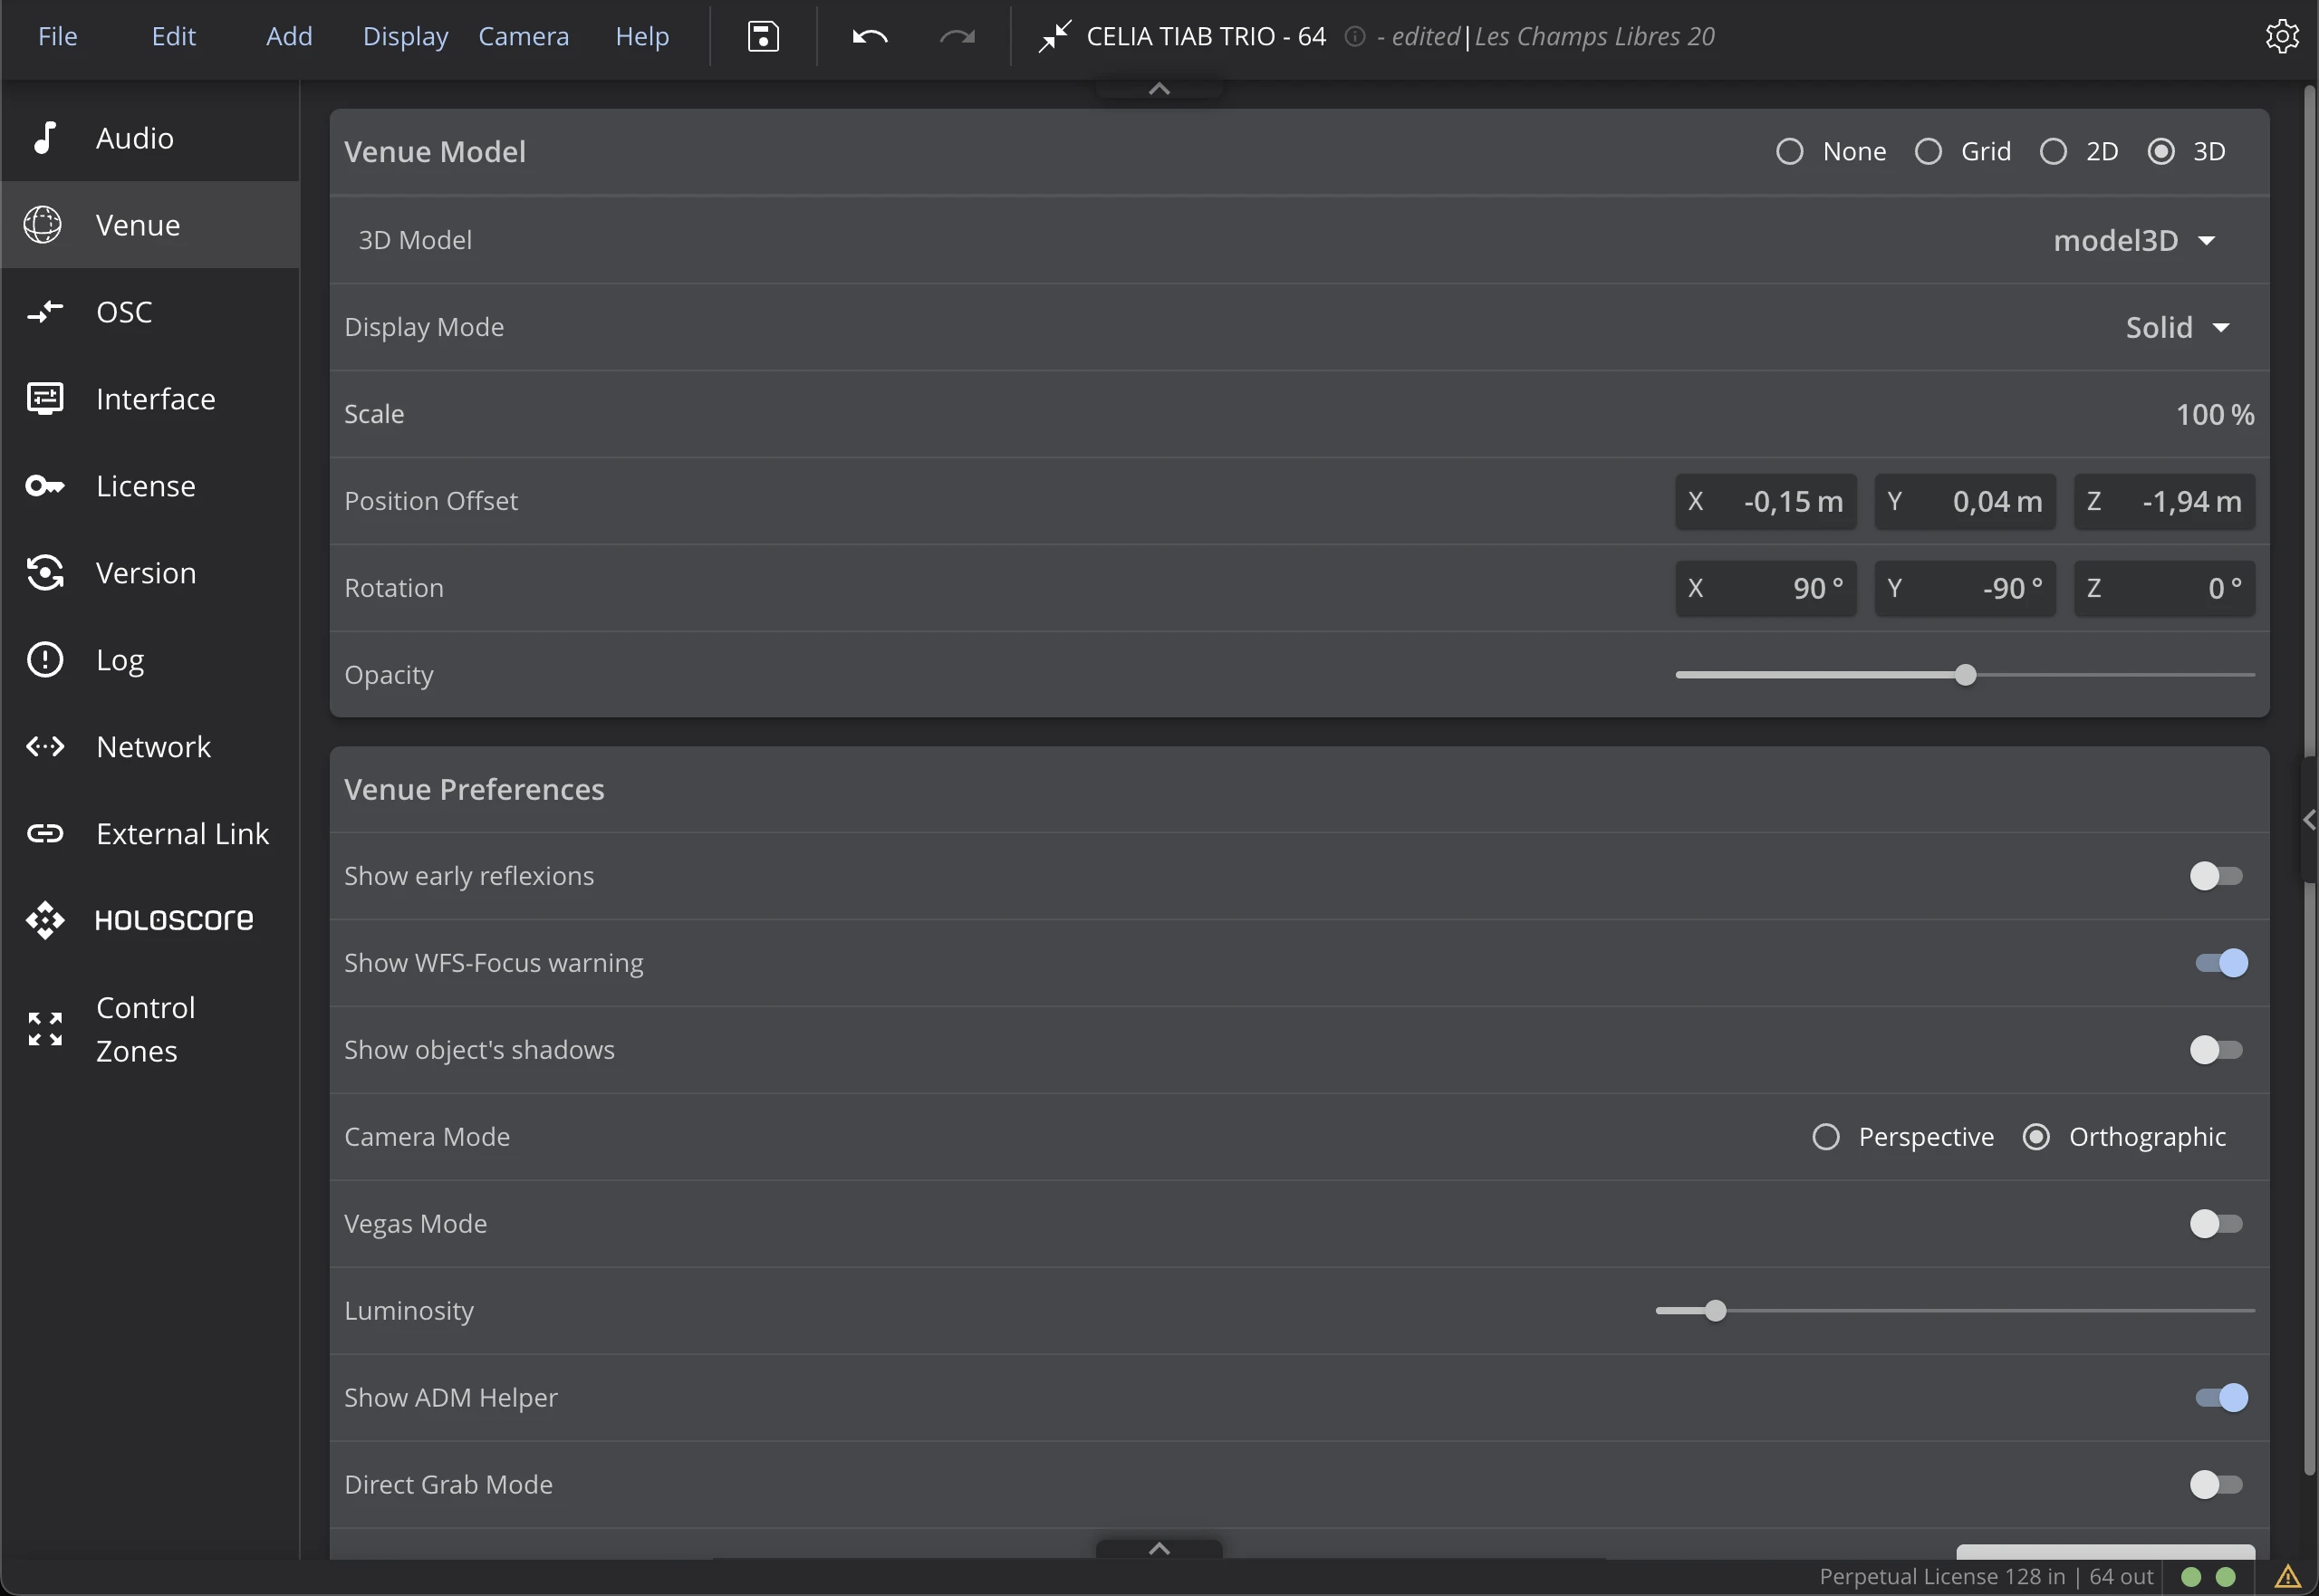
To import 3D Models or 2D Drawings, go to the "Venue Parameters" Menu, in "Settings | Venue Parameters". Then select "3D Model" or "2D Drawings" and import your file accordingly.
- 3D Model
- 2D Drawings
HOLOPHONIX allows you to import 3D models of your room in the *.GLB file format (a compressed version of GLTF files). If you want to import files from a different format, such as *.DWG, you can use external tools to convert the file. You can use the software Blender, or the online tool Three.js.
After importing the file, adjust its scale (if necessary), and use the Rotation and Position settings to align the 3D Model in the 3D Venue.
Check our video tutorial on how to convert and import 3D Models in HOLOPHONIX.
Learn more about the 3D model options in the dedicated documentation section.
HOLOPHONIX allows you to import 2D floor plans of your room as an image in the *.PNG file format.
After importing the file, enter the Drawing's Length to adjust the image to the right scale in the 3D Venue. Use the Center X, Center Y, Center Z settings to offset the positioning of the floor plans and align its center with the 3D Venue's center.
In order to have the correct contrast and visibility of your floor plan, the floorplan image you import should be in white or light grey drawings and texts over a transparent background. This will ensure correct readability of the room drawing in both the light and dark themes of HOLOPHONIX. (The Light theme will automatically invert the colors of the floor plan, so a white drawing will be displayed in black, and a transparent background will remain transparent).
Learn more about the 2D drawing options in the dedicated documentation section.