Menu Bar
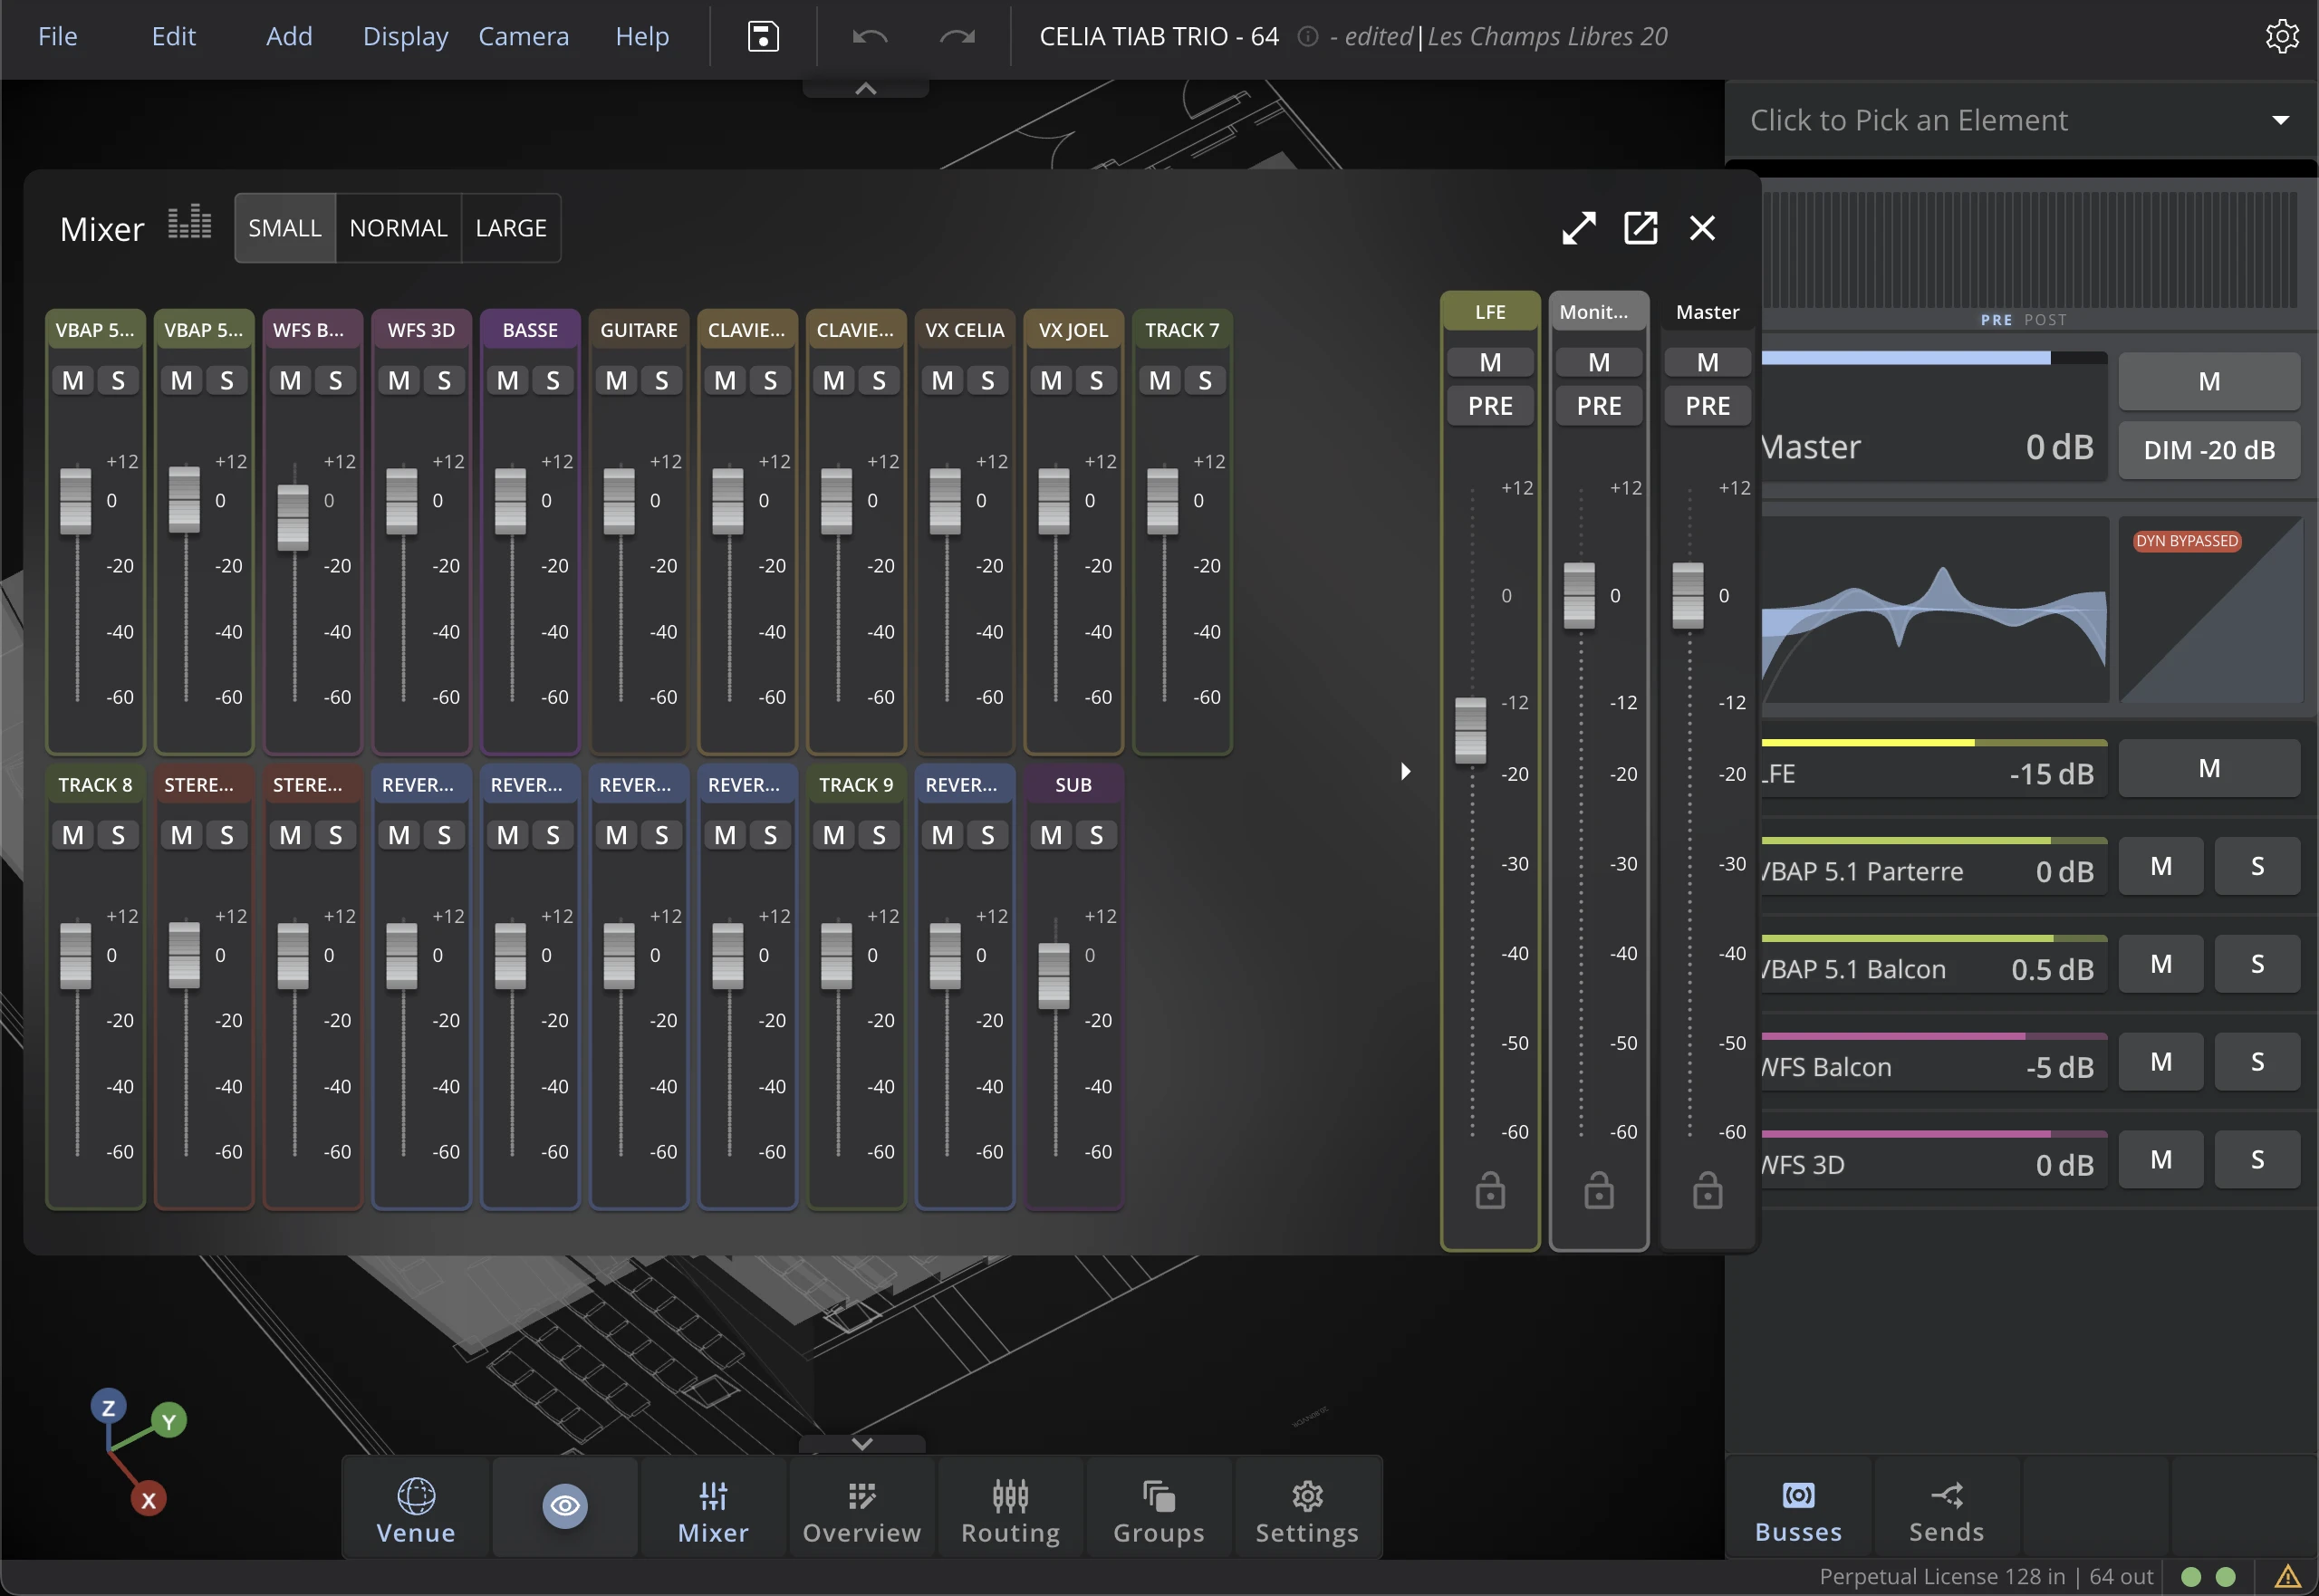
File Menu
Use the File menu to manage your Presets and Projects. Check the Project Setup and Preset Setup to learn more.
The Project Manager and Preset Manager are available from the File Menu. See the Project & Preset Managers page for details.
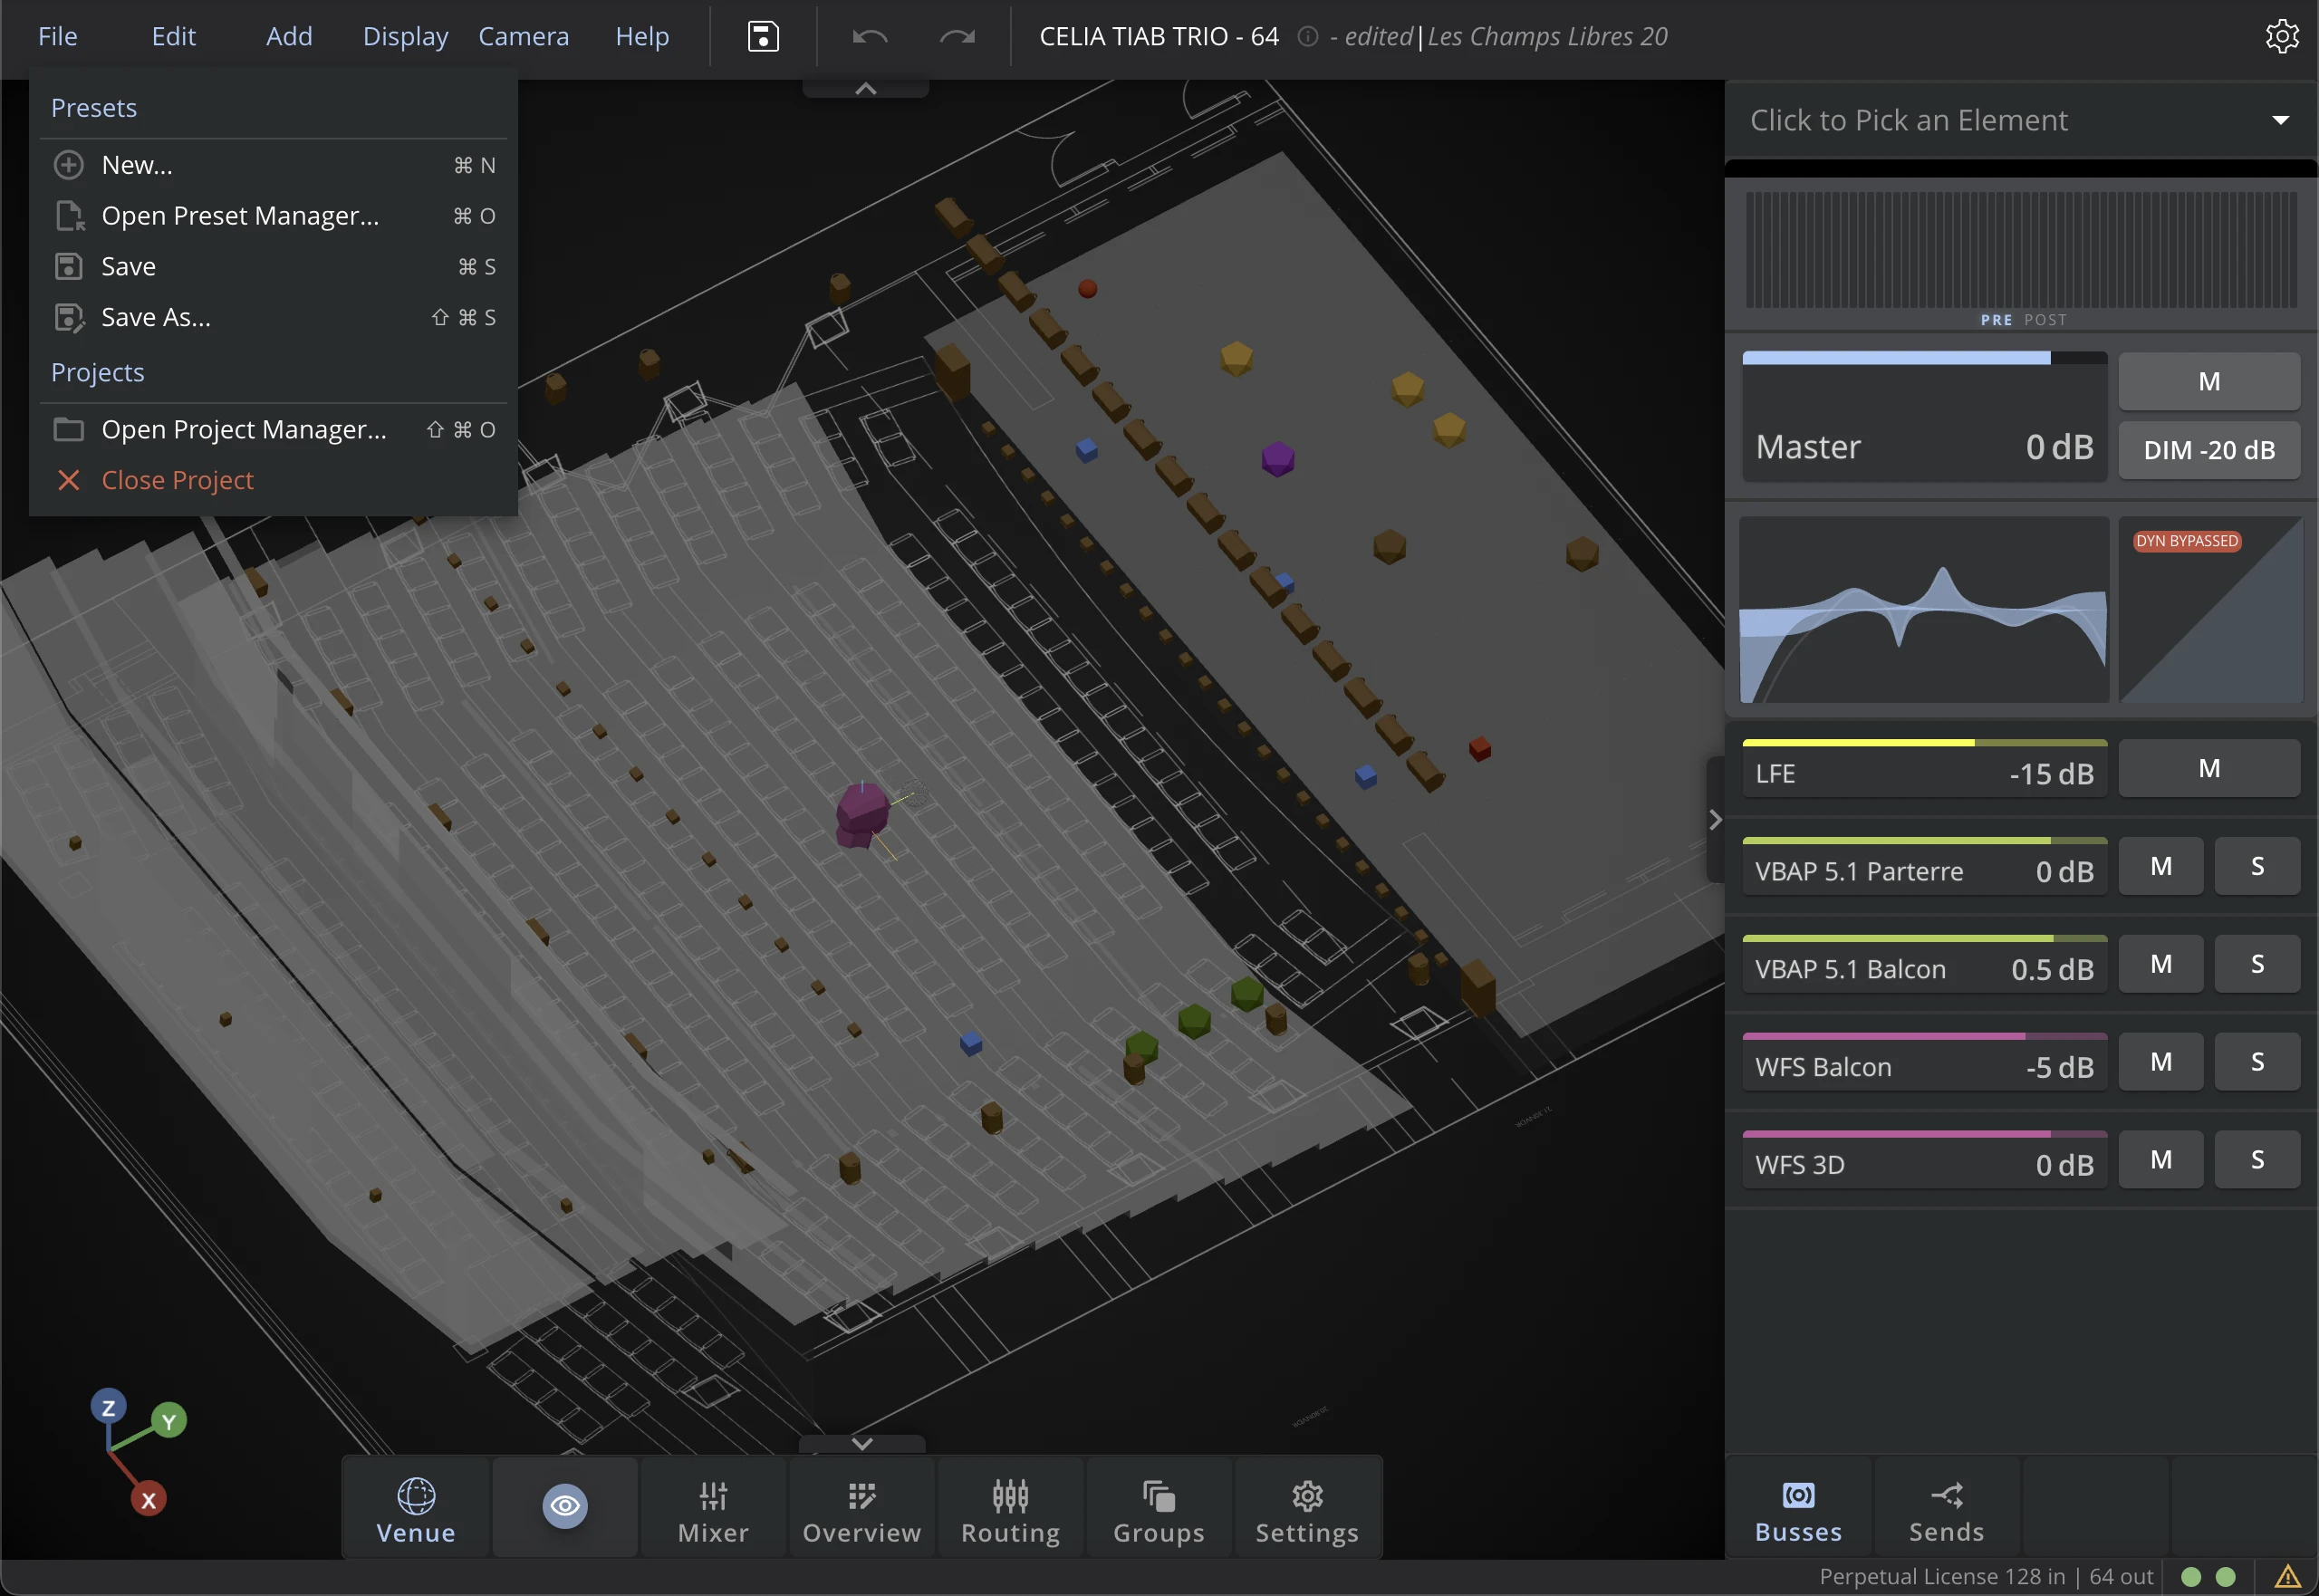
Edit Menu
Copy / Paste
Use these functions to copy all the settings of an object and apply them to another object.
You can only copy and paste settings from elements of the same class (for example, you cannot copy settings from a speaker and paste them to a virtual source).
Undo / Redo
Use these buttons to cancel (undo) or reinstate (redo) actions.
Some actions, such as deleting a Source, a Bus, or a Speaker cannot be cancelled.
Transform Options
For more information about Transform Modes, refer to the dedicated section in the Venue page.
Delete Selection
With the Delete Selection menu option you can delete Source, Bus or Speakers from your preset, based on your selection. Check which items are selected in the inspector header before deleting them.
Add Menu

Use this menu to add Sources, Bus or Speakers to the current Preset.
Add Source
Select the Source Family and the Source Type to be created. Most of the time, you will be using Mono virtual sources.
You can choose to add custom or surround source layouts.
- Custom
- Surround
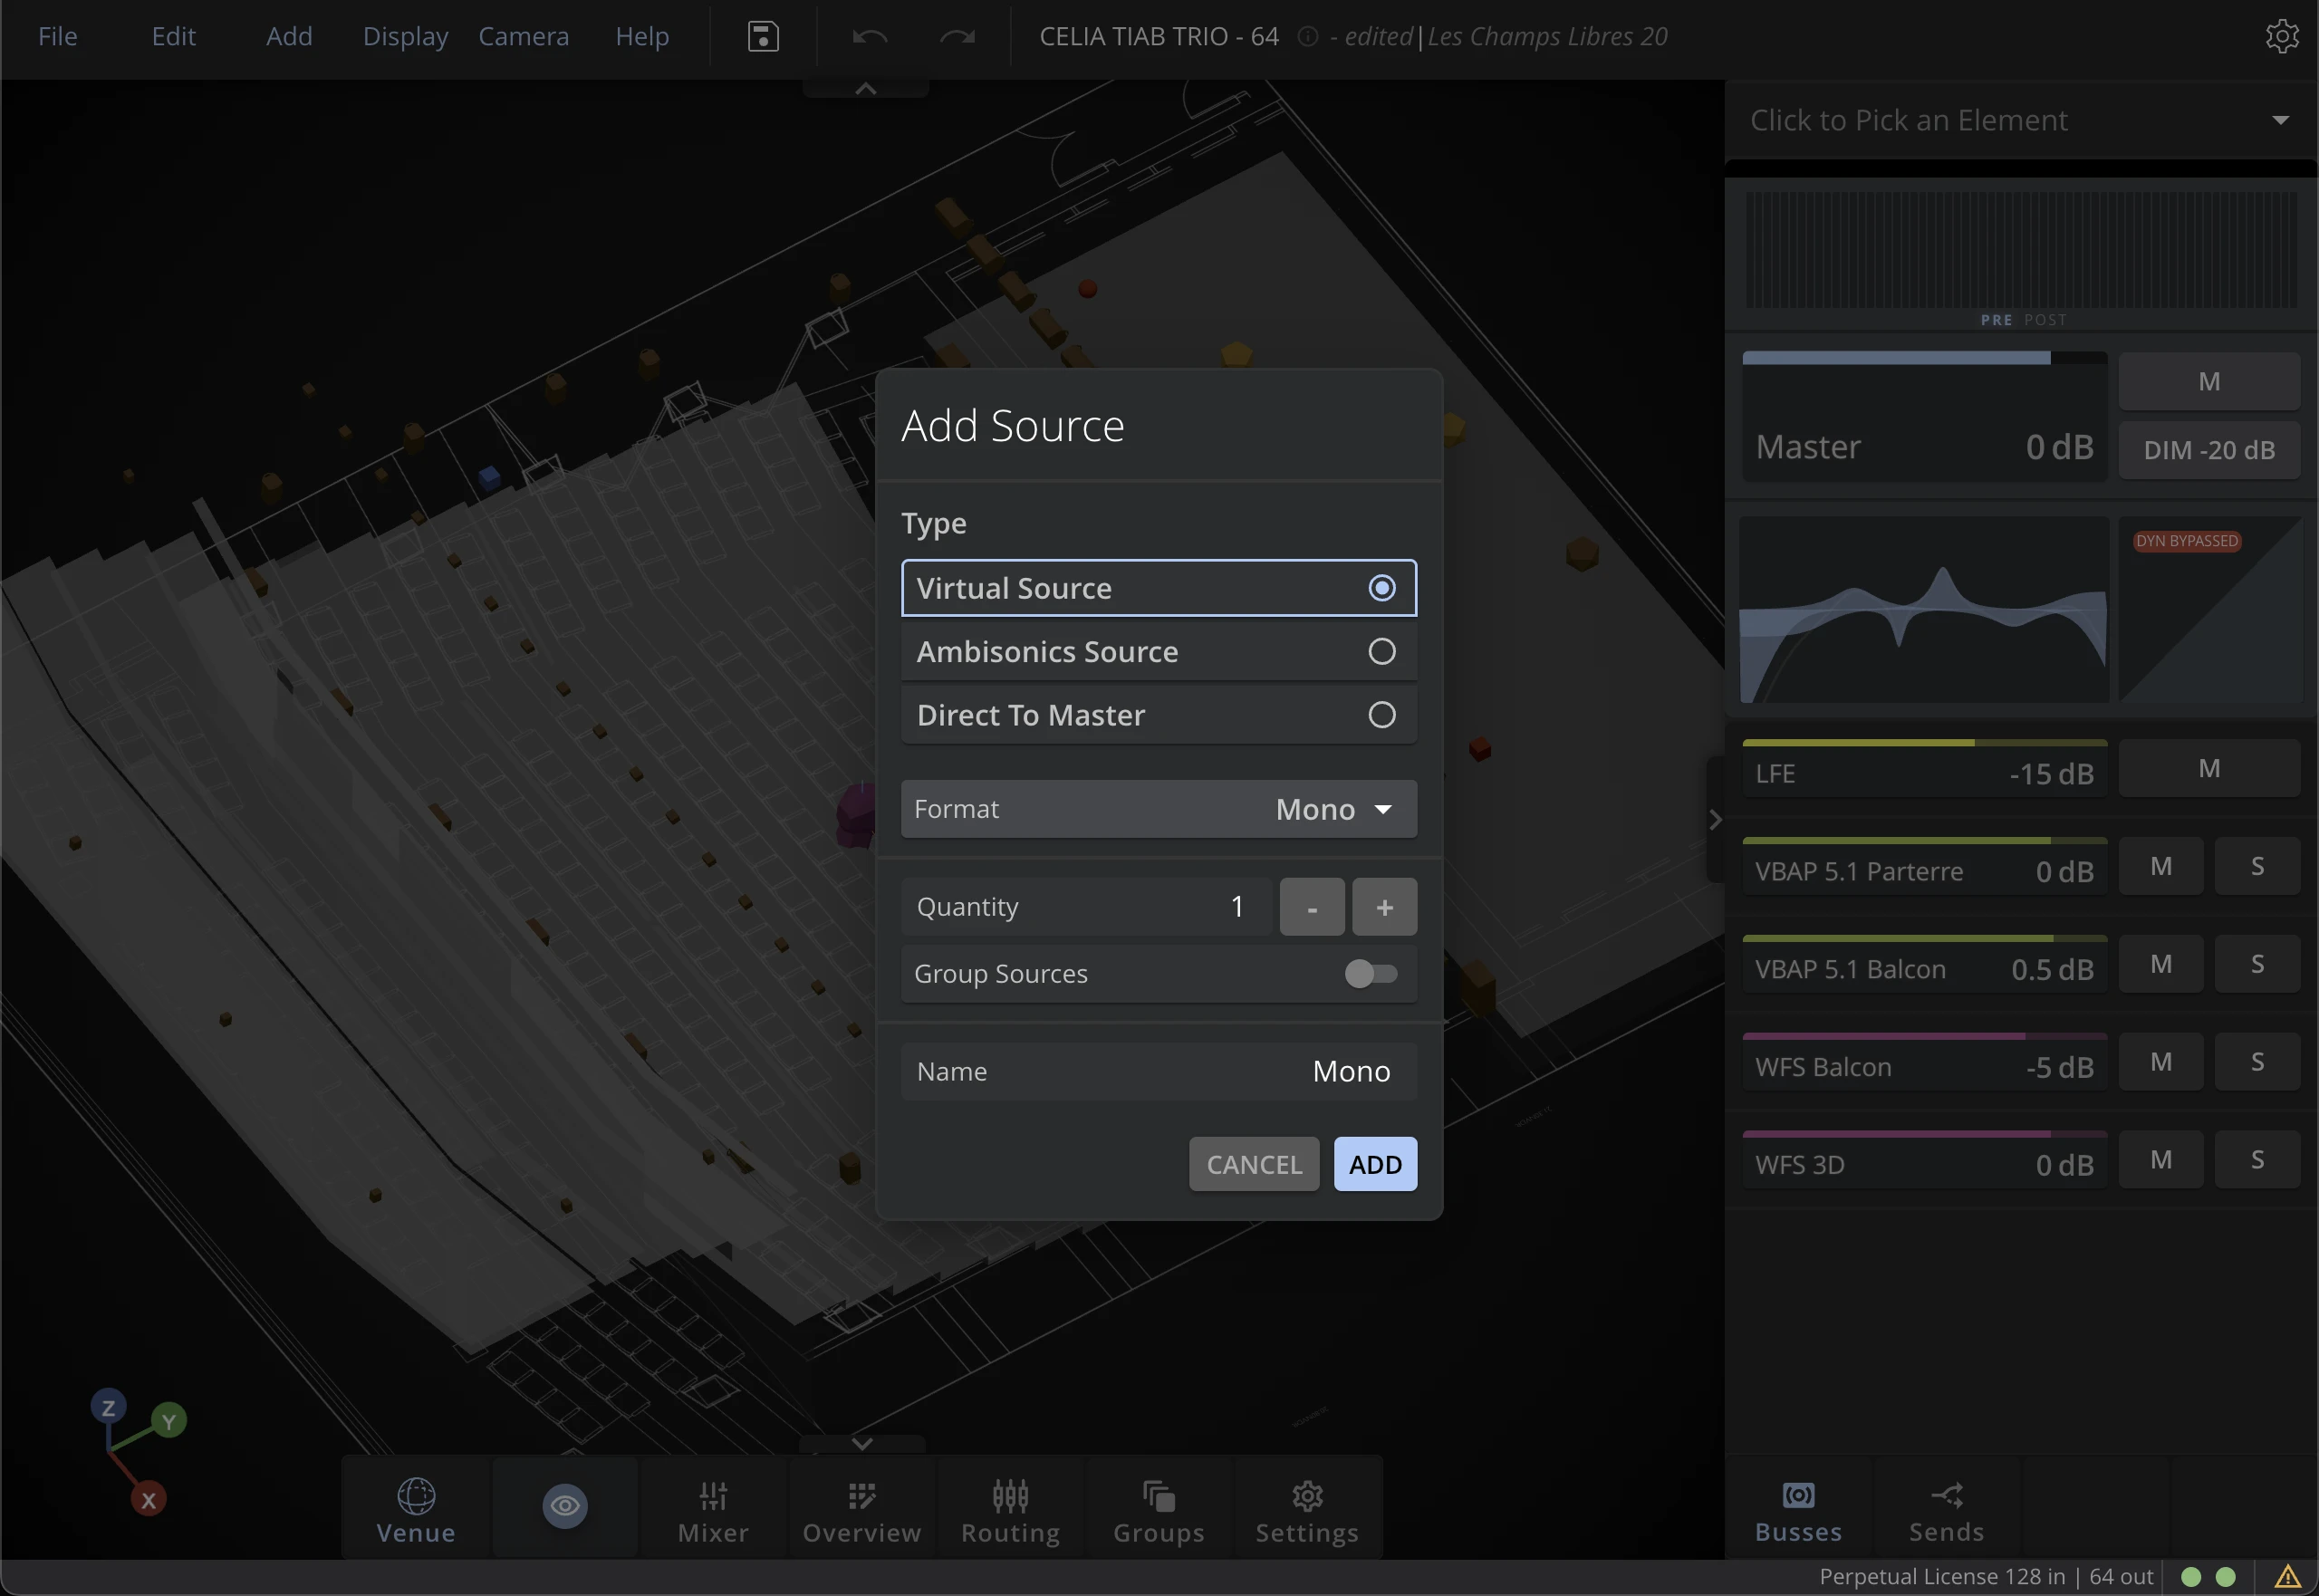
When you add a Source, you can choose amongst three Types : Virtual Source, Ambisonics Source, Direct to Master.
You can then choose the Source's Format.
Use the field Quantity to define how many sources you want to add.
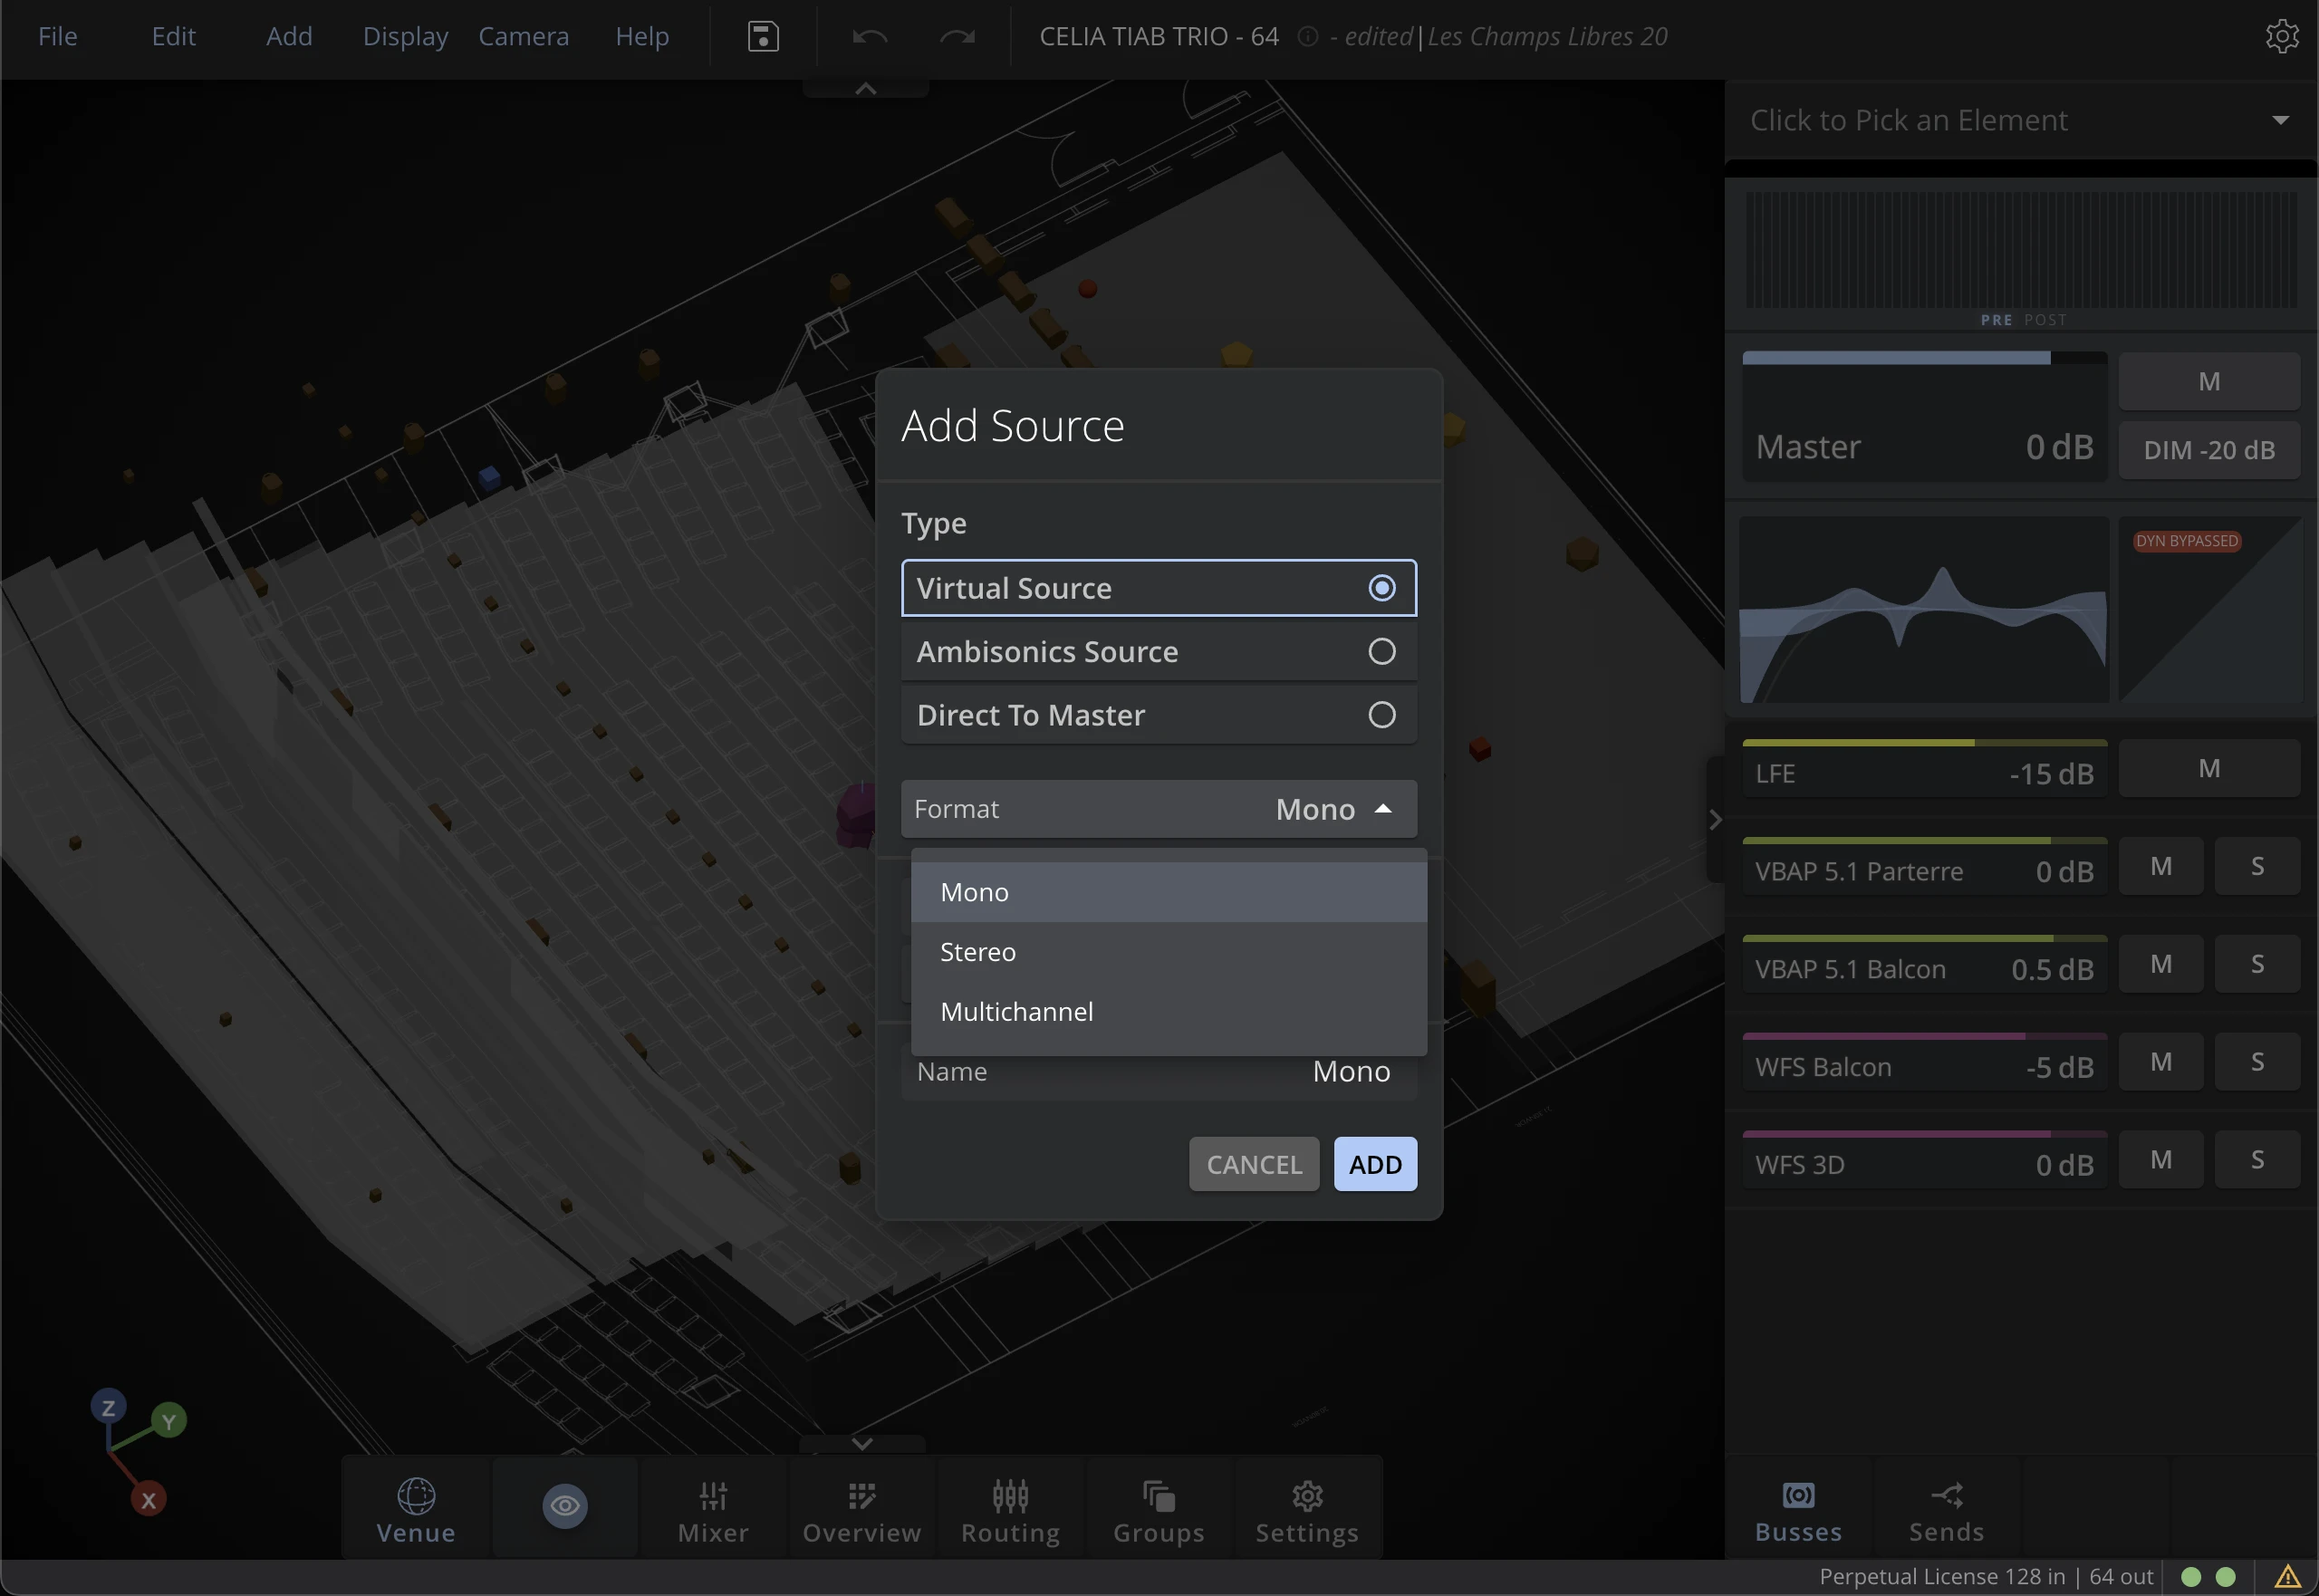
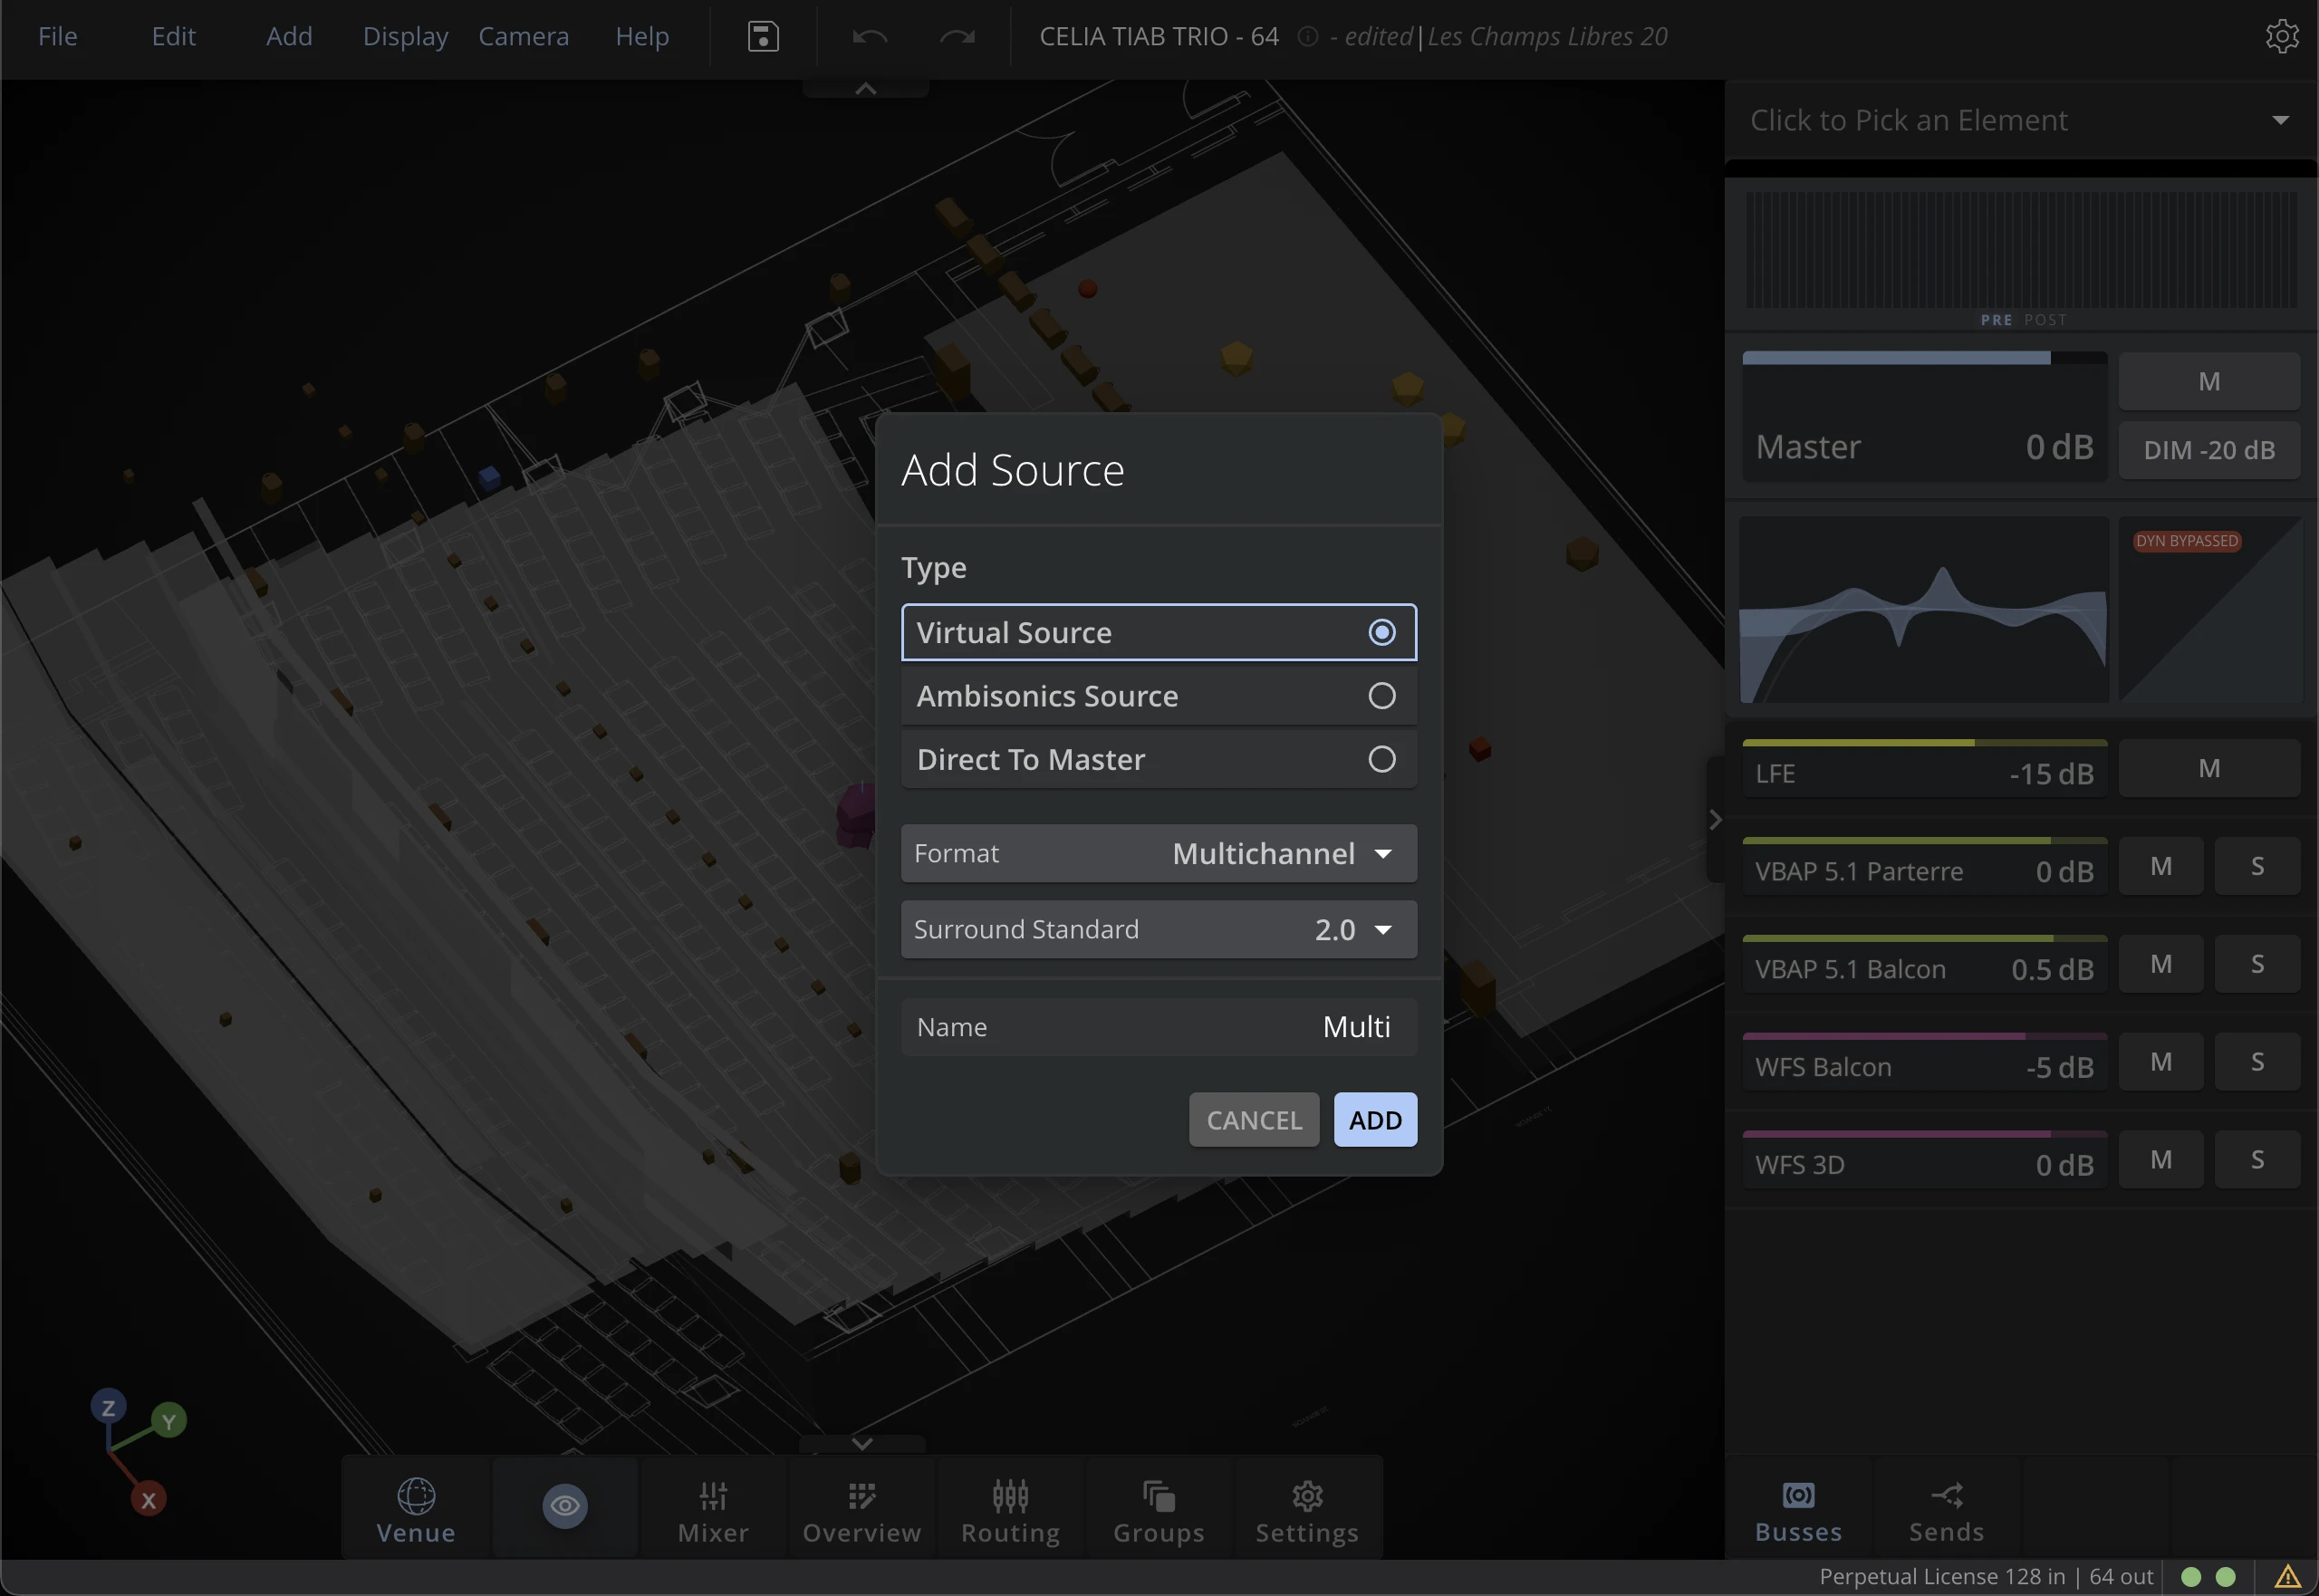
To create standard Surround Sources, choose Multichannel as a Source Format.
You can then select the Surround Standard that matches a pre-defined configuration as defined by the ITU.
This tab is useful if you want to work with surround recordings, like 5.0 streams for example.
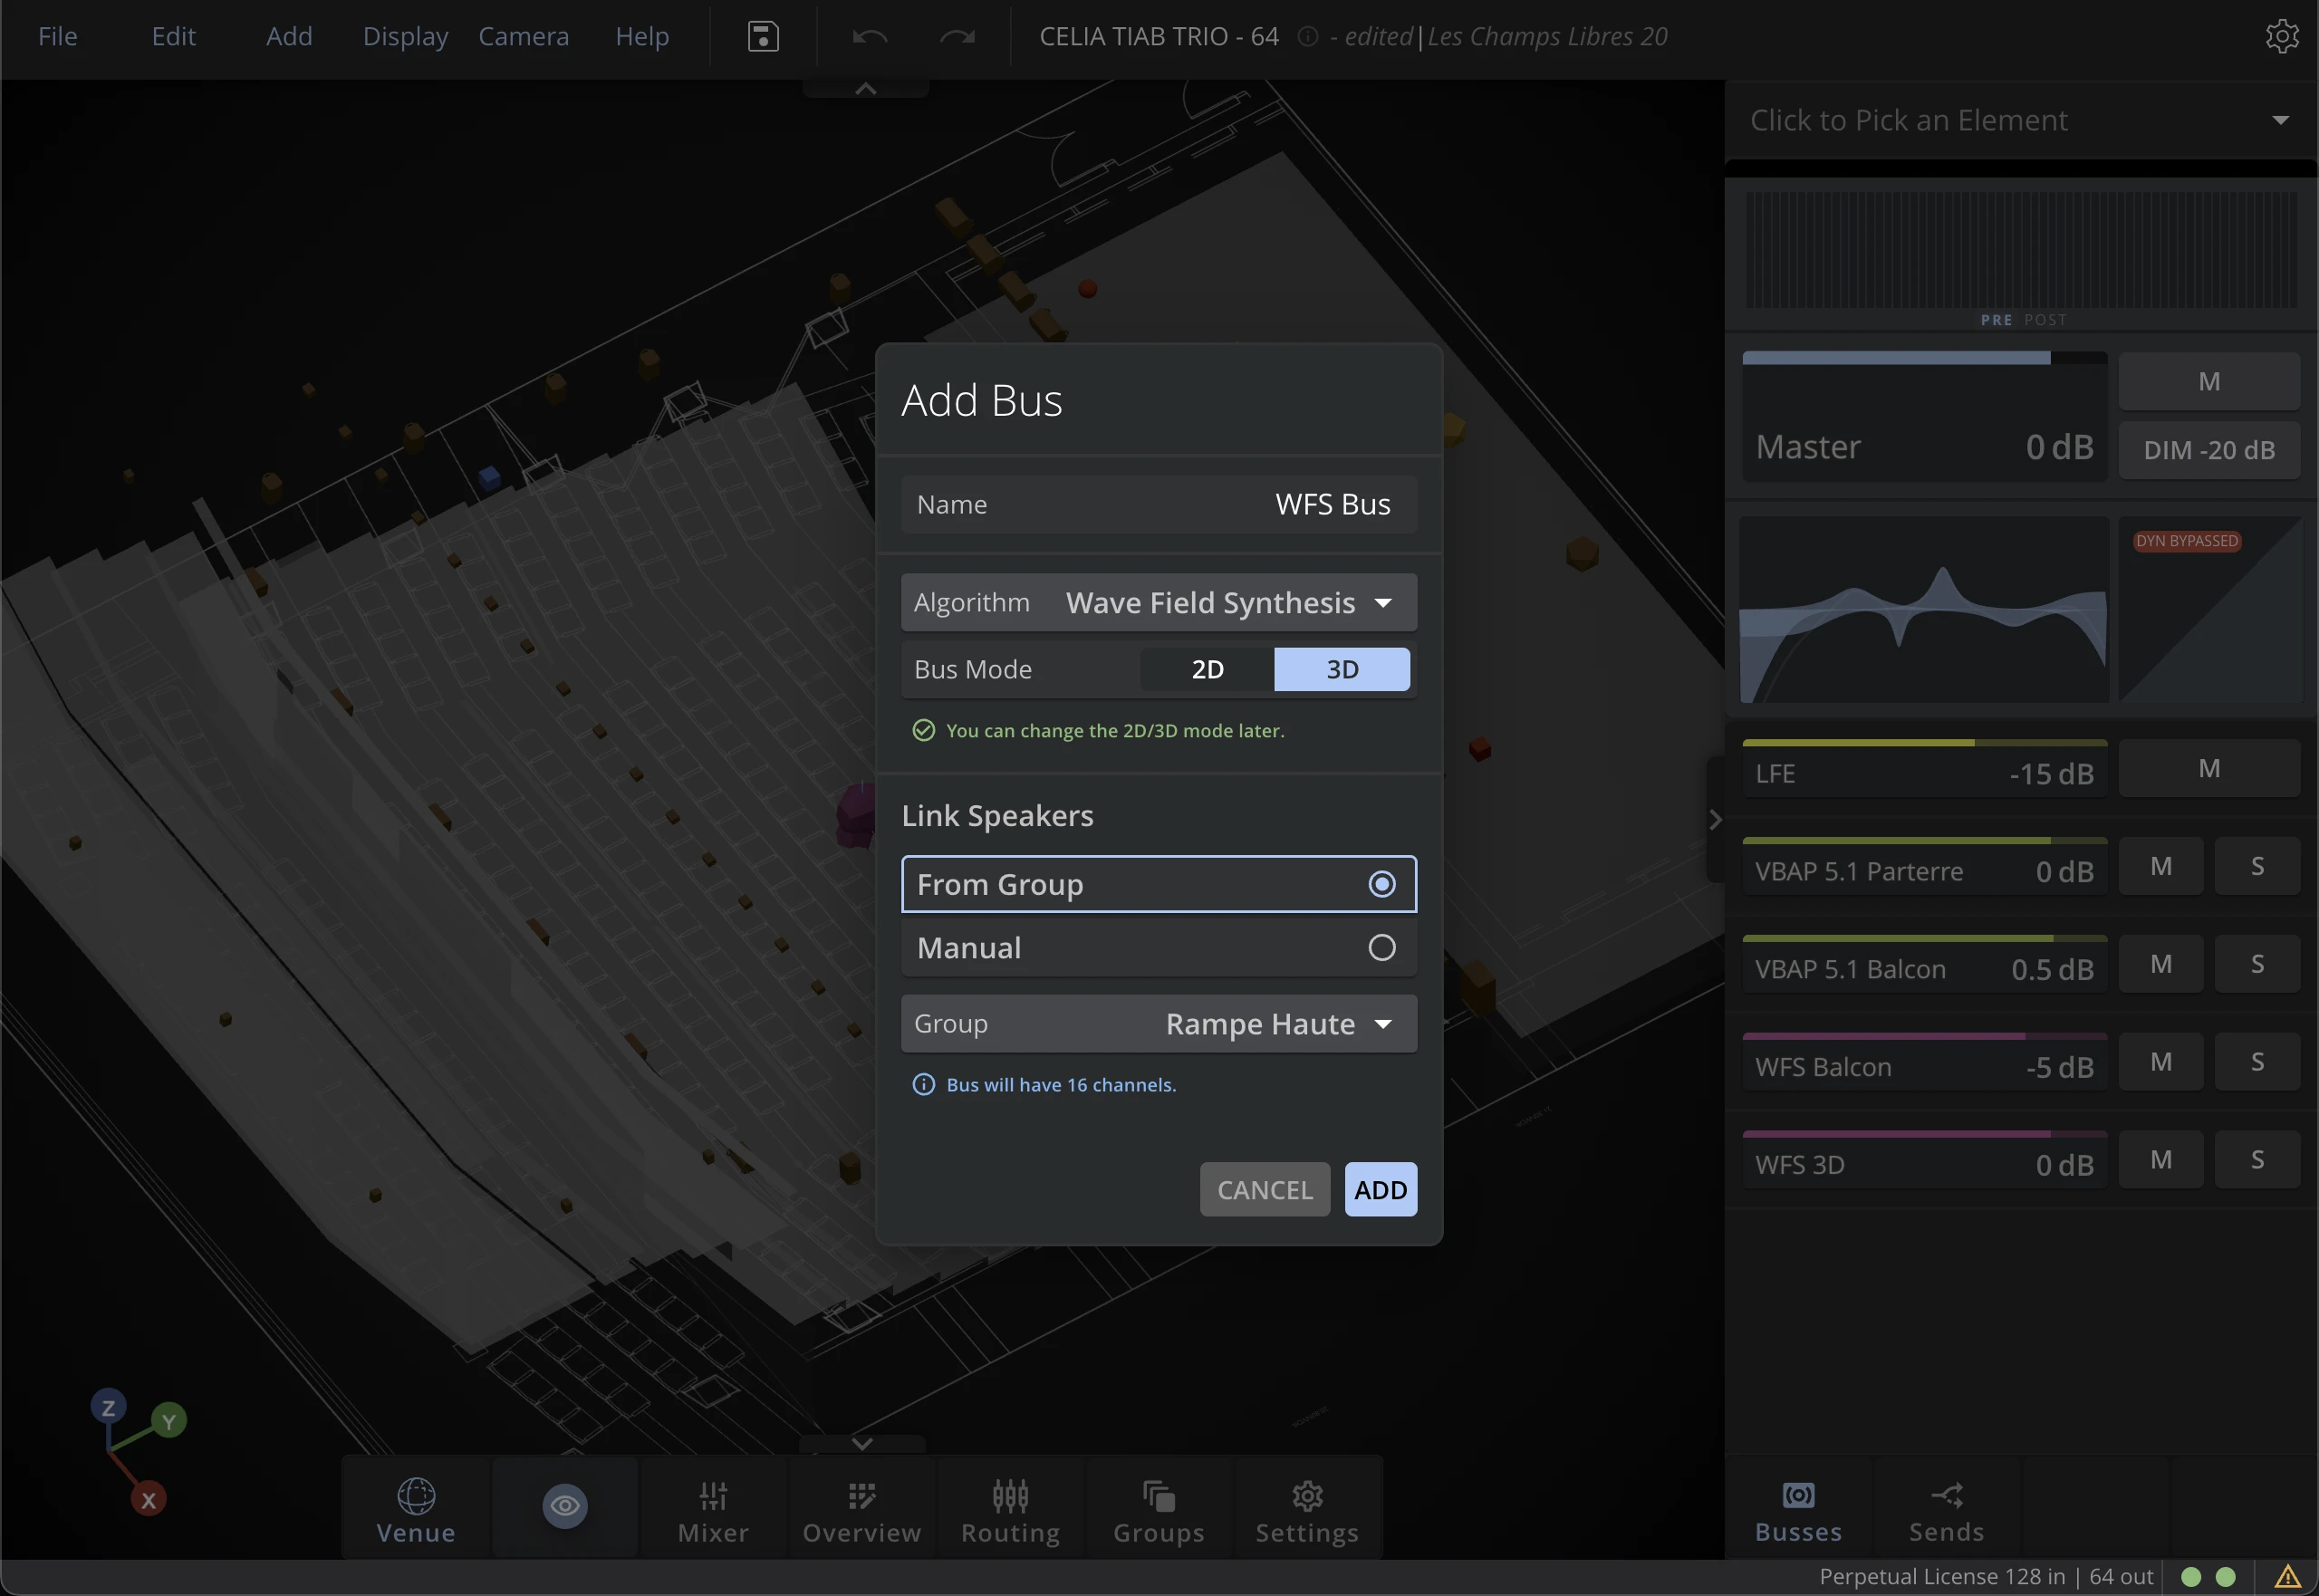
Add Bus
Choose the spatialization algorithm that best fits your setup. If you have any doubt about which algorithm to use, or on how to set it up, visit the Spatialization Bus section.
If you have selected the Manual button, you need to enter the number of Bus Channels of your bus. This number needs to match the number of loudspeakers that you will assign to the bus.
If you have selected the From Group button, you will be able to choose a Speakers Group if you already have created one. This will automatically adjust the number of channels of the bus, and will assign the Bus Outputs to the Speakers.
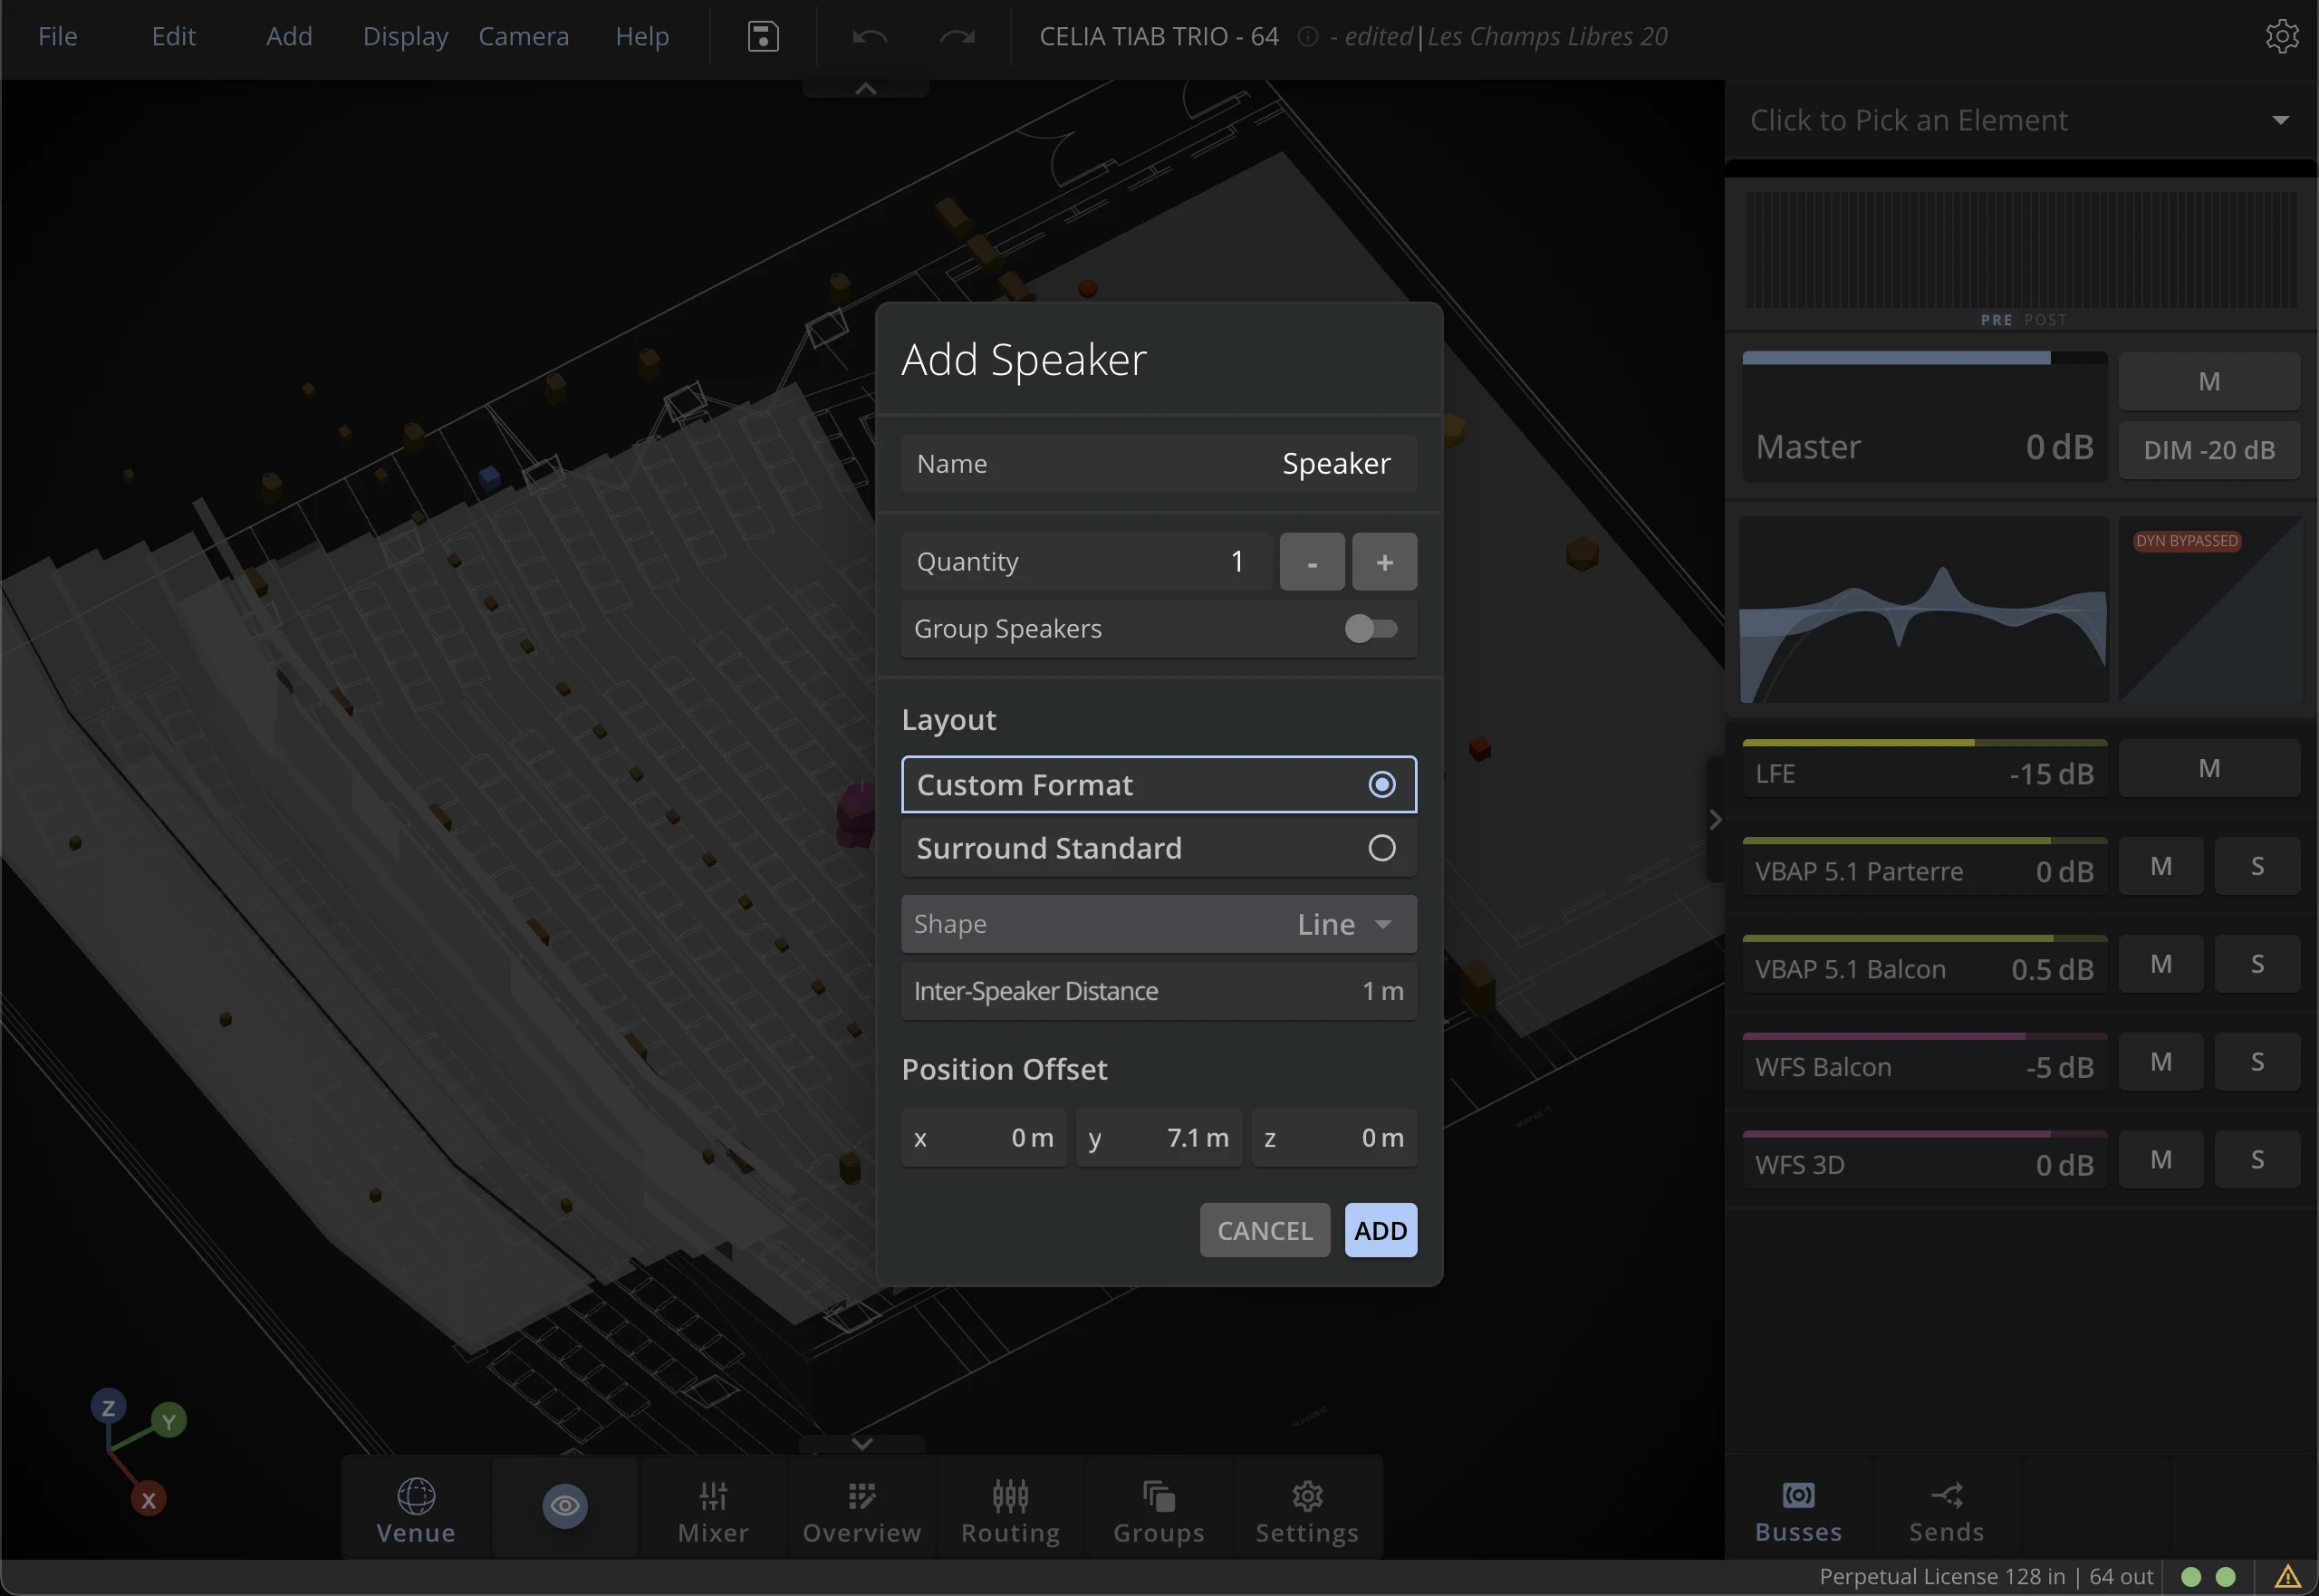
Add Speaker
When adding multiple loudspeakers at once, you can group them directly in the Add Speaker menu. This will help later with the routing process. If you are not sure whether you need to group your speakers at creation or not, you can always edit the Speaker Groups later.
You can choose to add custom, or surround layouts of speakers.
- Custom
- Surround
Choose Custom Layout to design unique setups that do not match any of the standardized surround configurations.
Most of the time, live shows require non-traditional speaker setups that are best designed using this tab.
Use the field Quantity to define how many speakers you want to add.
You can arrange them in Line, Circle, or Sphere with the Shape menu.
Based on what Shape you have selected, you can adjust the Inter-Speaker Distance (for lines), the Width (for circles), and the Distance from Origin (for spheres)
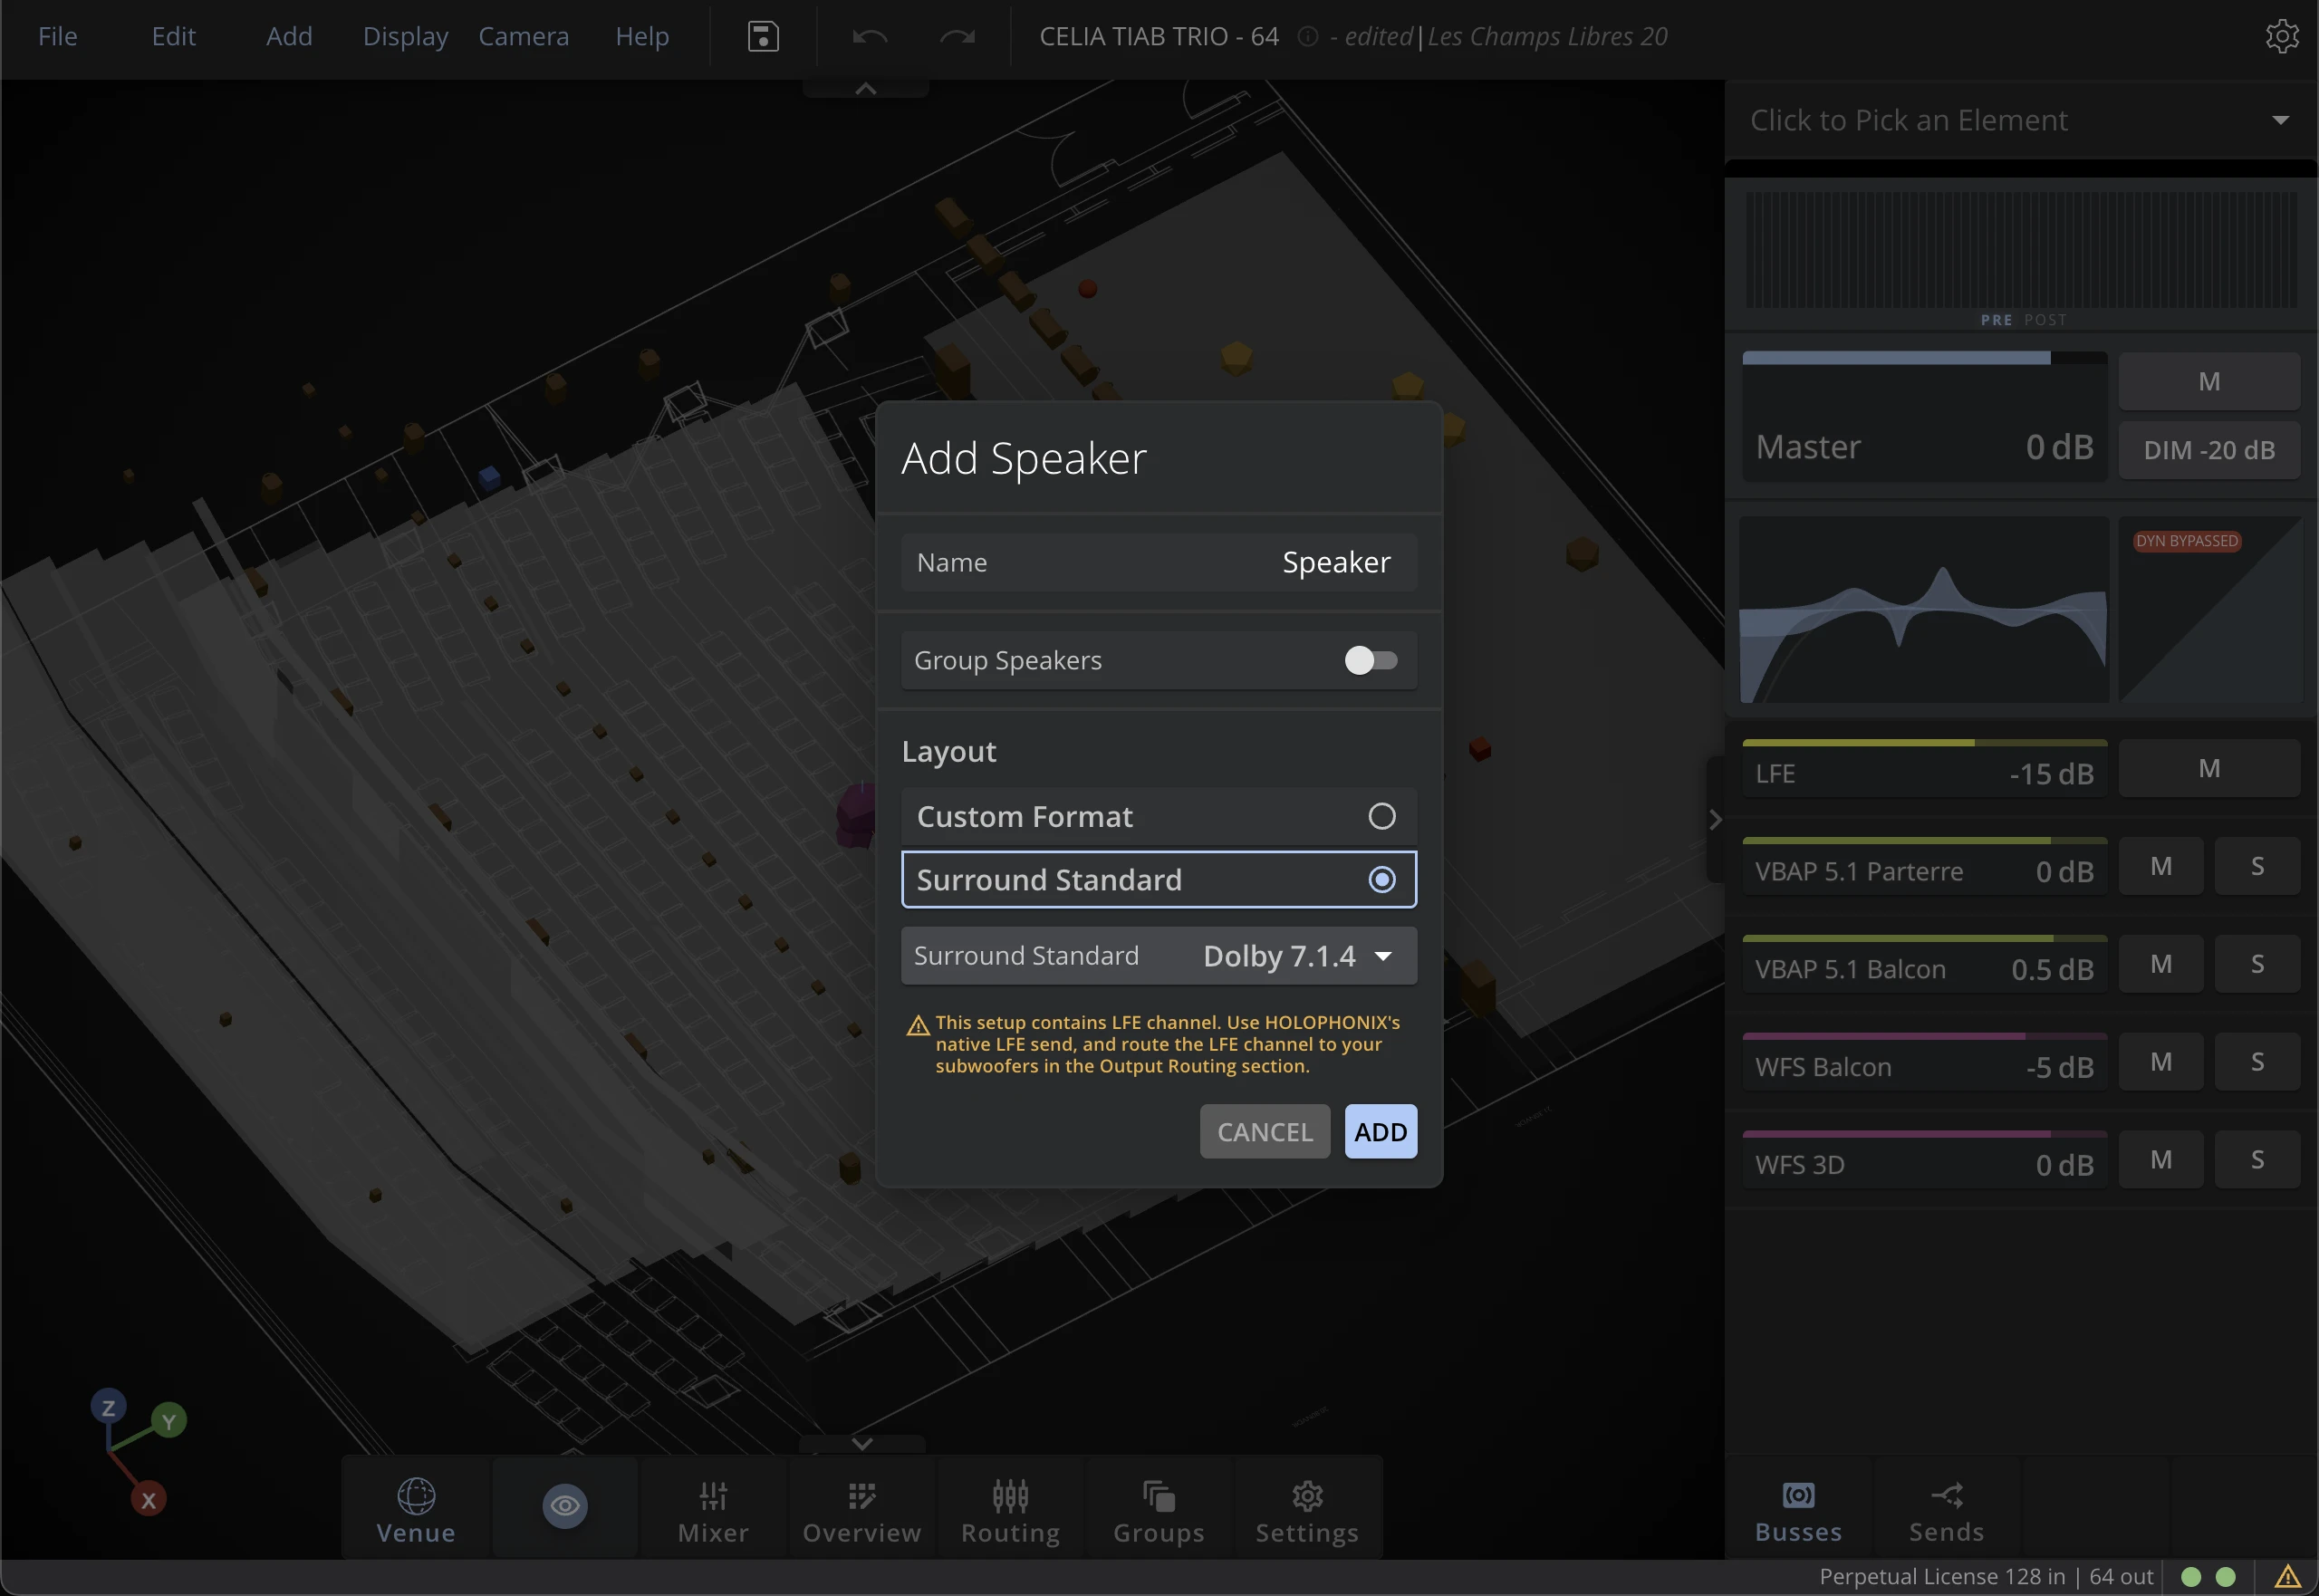
Choose Surround Layout to design setups that correspond to standardized surround configurations as defined by the ITU.
This tab is useful if you want to work with Dolby Atmos setups for immersive installations or in your studio.
Use the Atmos Speaker Layout drop-down menu to choose your custom configurations.
You can also choose the reference point and the opening width.
Add Source Group
The Add Source Group menu allows you to create groups of sources. This is especially useful for grouping multiple sources that you want to route to the same bus, or move and mute together. Once created, you can edit the group parameters in the Groups panel of the dock. Check the section about the Groups Panel for more information.
Speaker Group
The Add Speaker Group menu allows you to create groups of speakers. This is especially useful for grouping multiple speakers that you want to route to the same bus, or move together. Once created, you can edit the group parameters in the Groups panel of the dock. Check the section about the Groups Panel for more information.
Display Menu
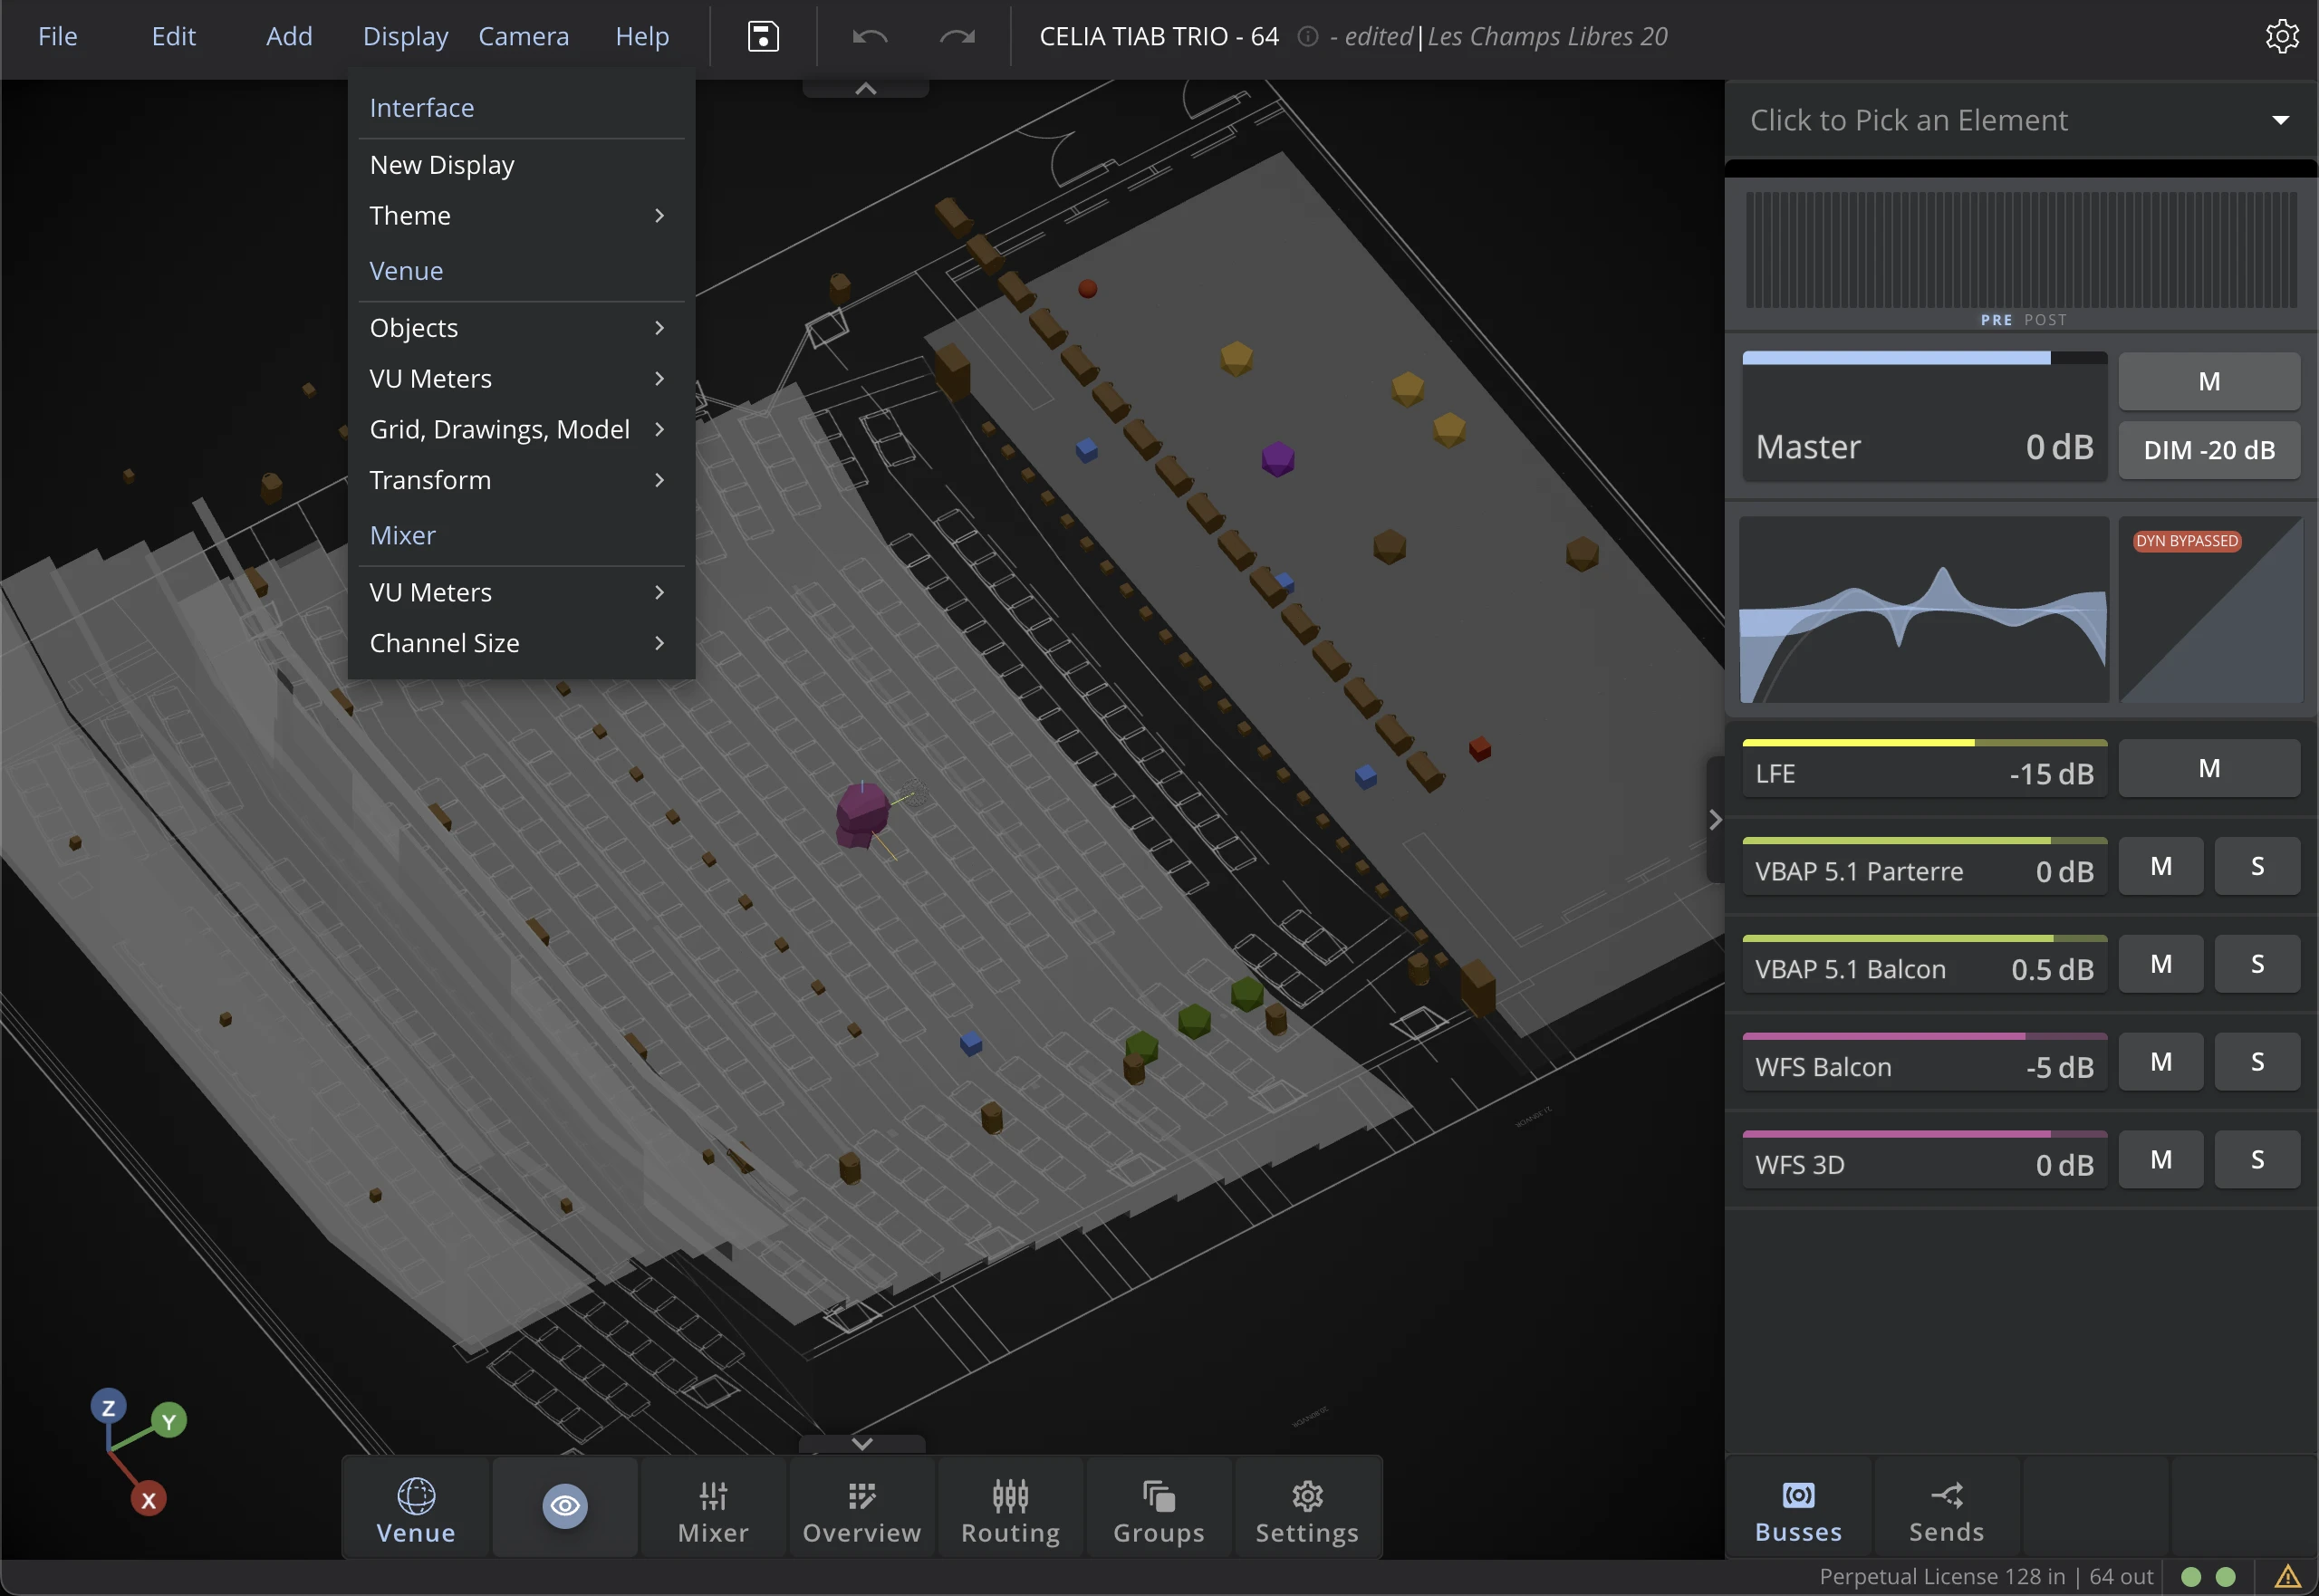
Interface display options
Interface Theme
Choose between the Dark or Light themes depending on your environment. The default Dark theme is convenient for discretion in indoor venues, whereas the Light theme enhances visibility in outdoor environments.

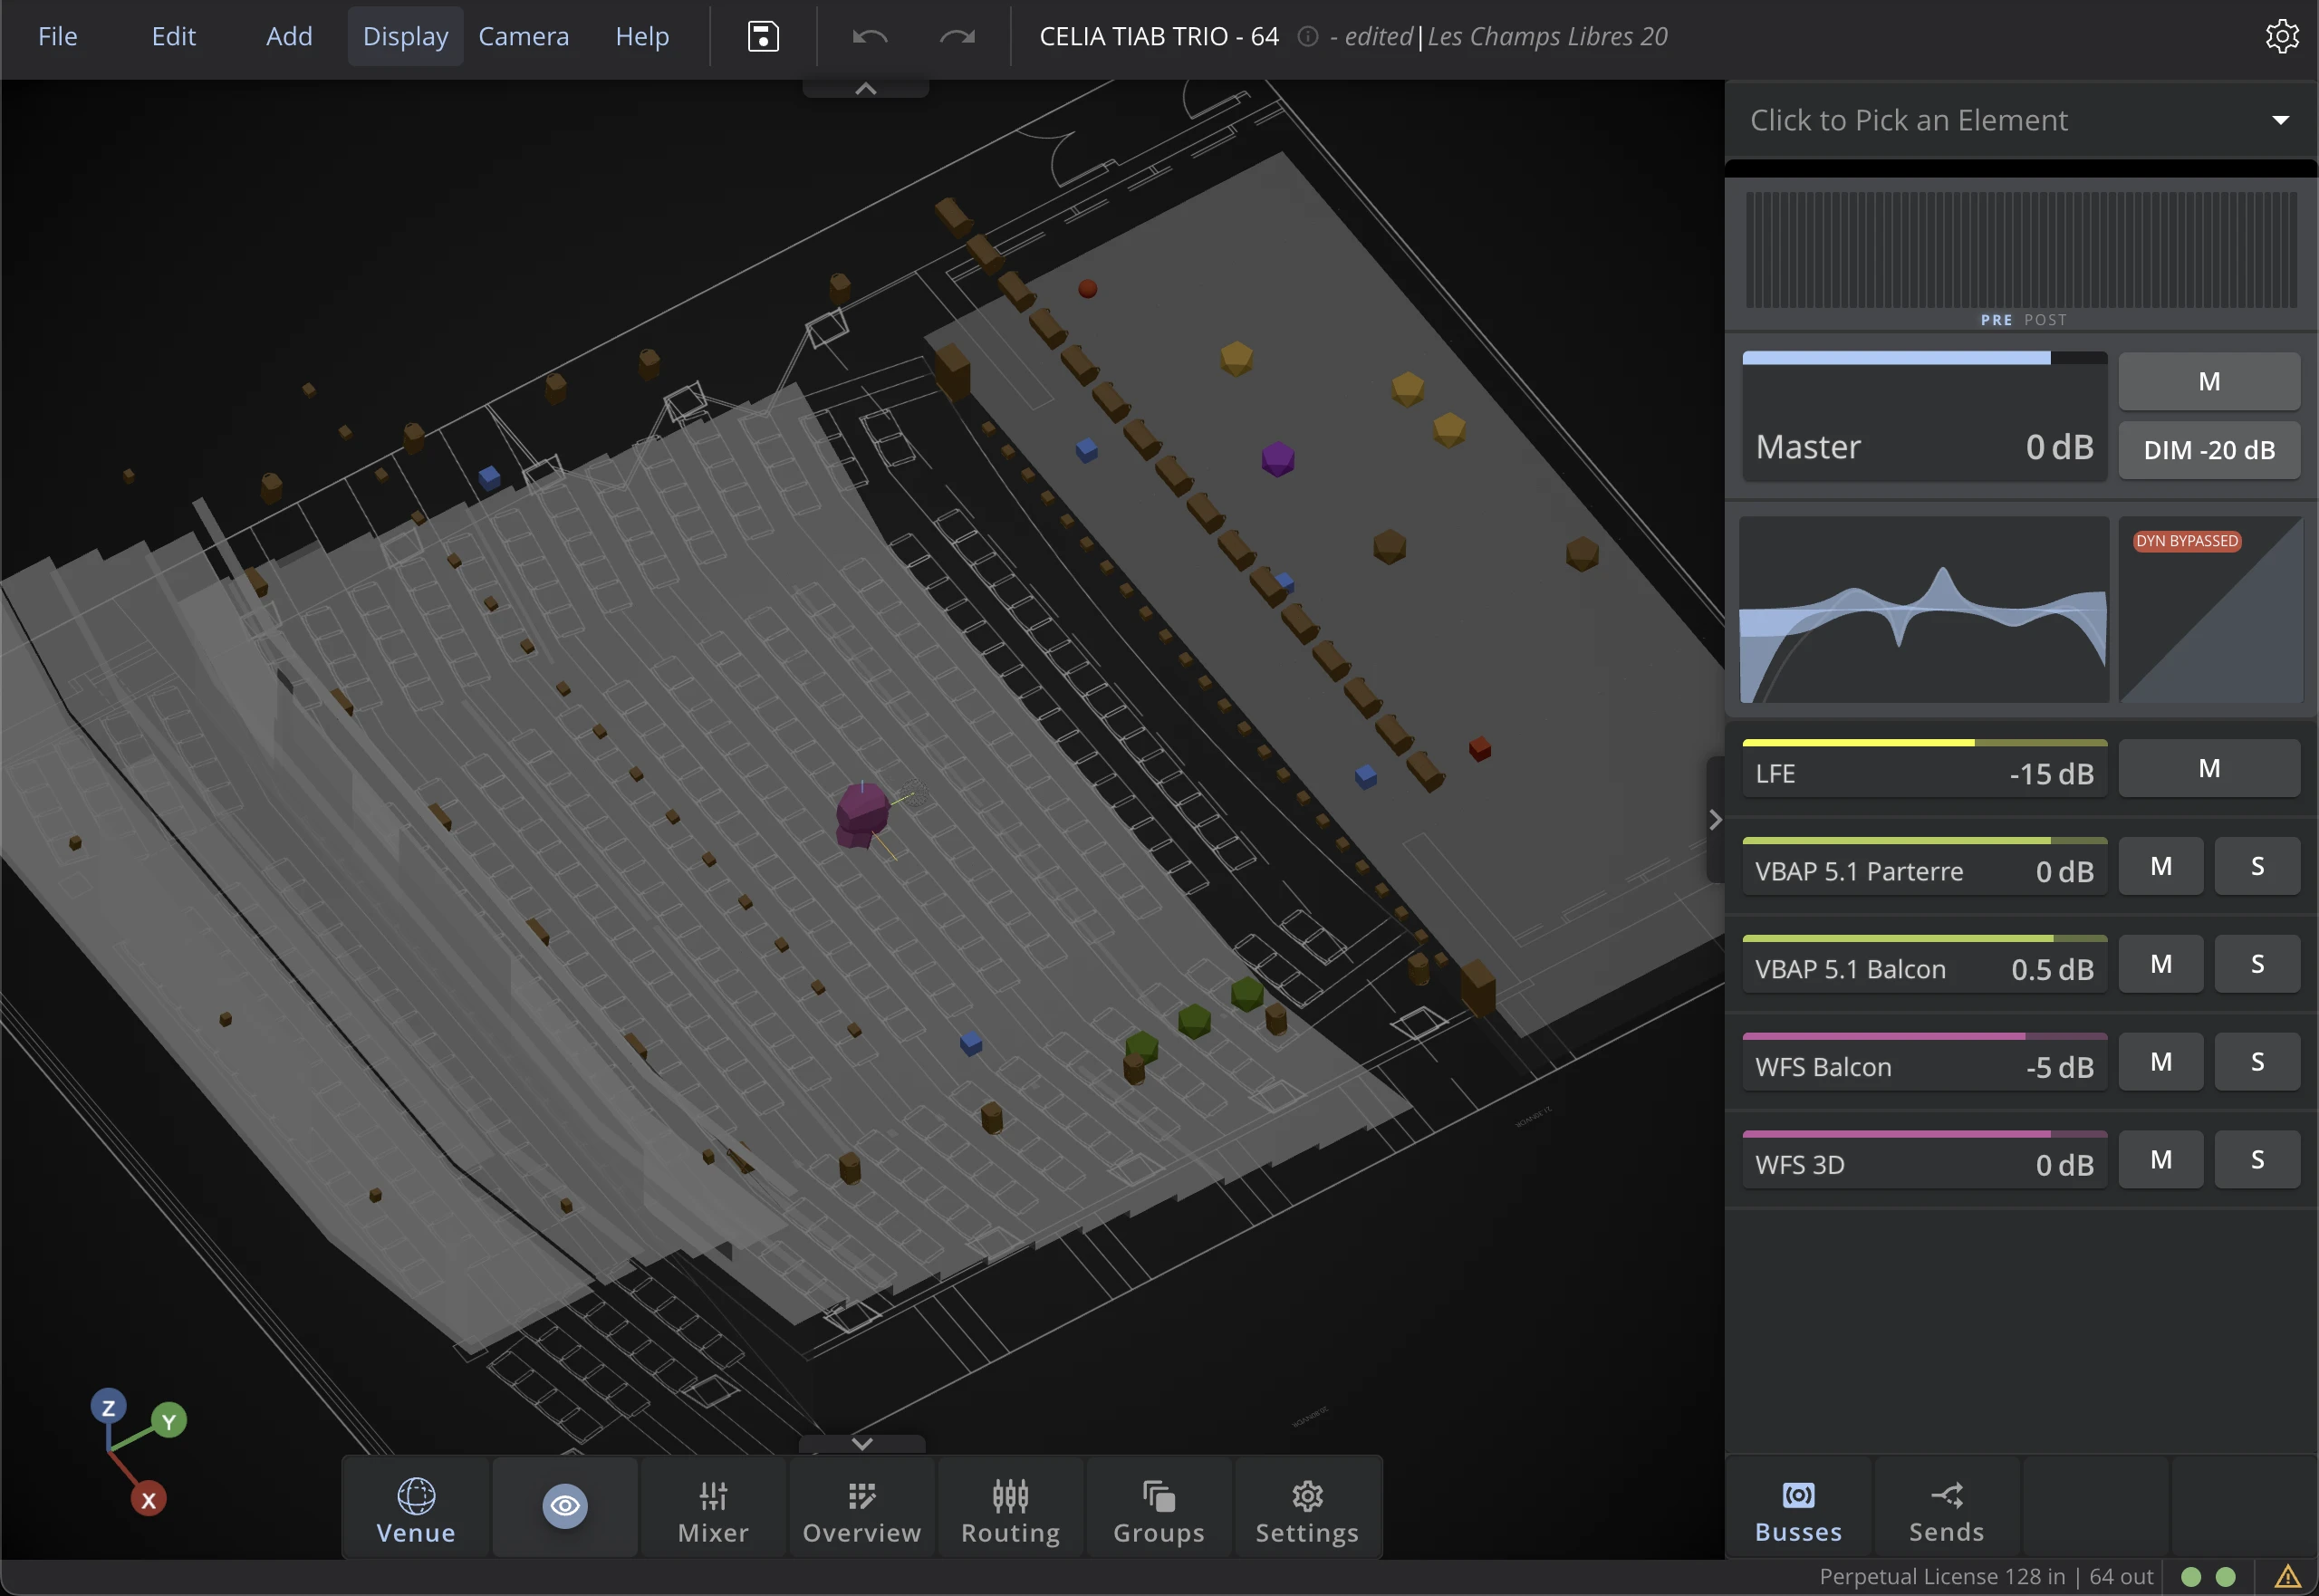
Venue display options
Objects
Adjust the display settings of the objects in the venue, such as the global Size, or the global Labels. For more detailed settings, you can also adjust the size of each object individually in the Inspector, via the Object Tab of your Speaker or Virtual Source.
VU-Meters
Four display modes are offered:
- OFF no levels are displayed in the Venue
- BAR standard VU-meter bars are displayed alongside the objects
- SQUARE color-changing dots are displayed alongside the objects
- COLOR the object's colors are replaced by the VU-meter color indication
You can also choose between the following VU-meters position:
- PRE displays the signal received directly after the audio input (before processing)
- POST displays the signal sent to the panning
If no input or output is routed to a Source or a Speaker, no VU-Meter is displayed alongside this object.
Grid, Drawing, and Models
From this menu you can access quick display settings for the Grid, the 2D Drawings and 3D Models. To import a 3D Model or 2D Drawings of your venue, open the Venue Settings.
Transform Mode
For more information about Transform Modes, check the dedicated section in the Venue page
Mixer display options
Adjust the display settings of the channels in the mixer, such as the Channel Size or the VU Meters.
Camera Menu
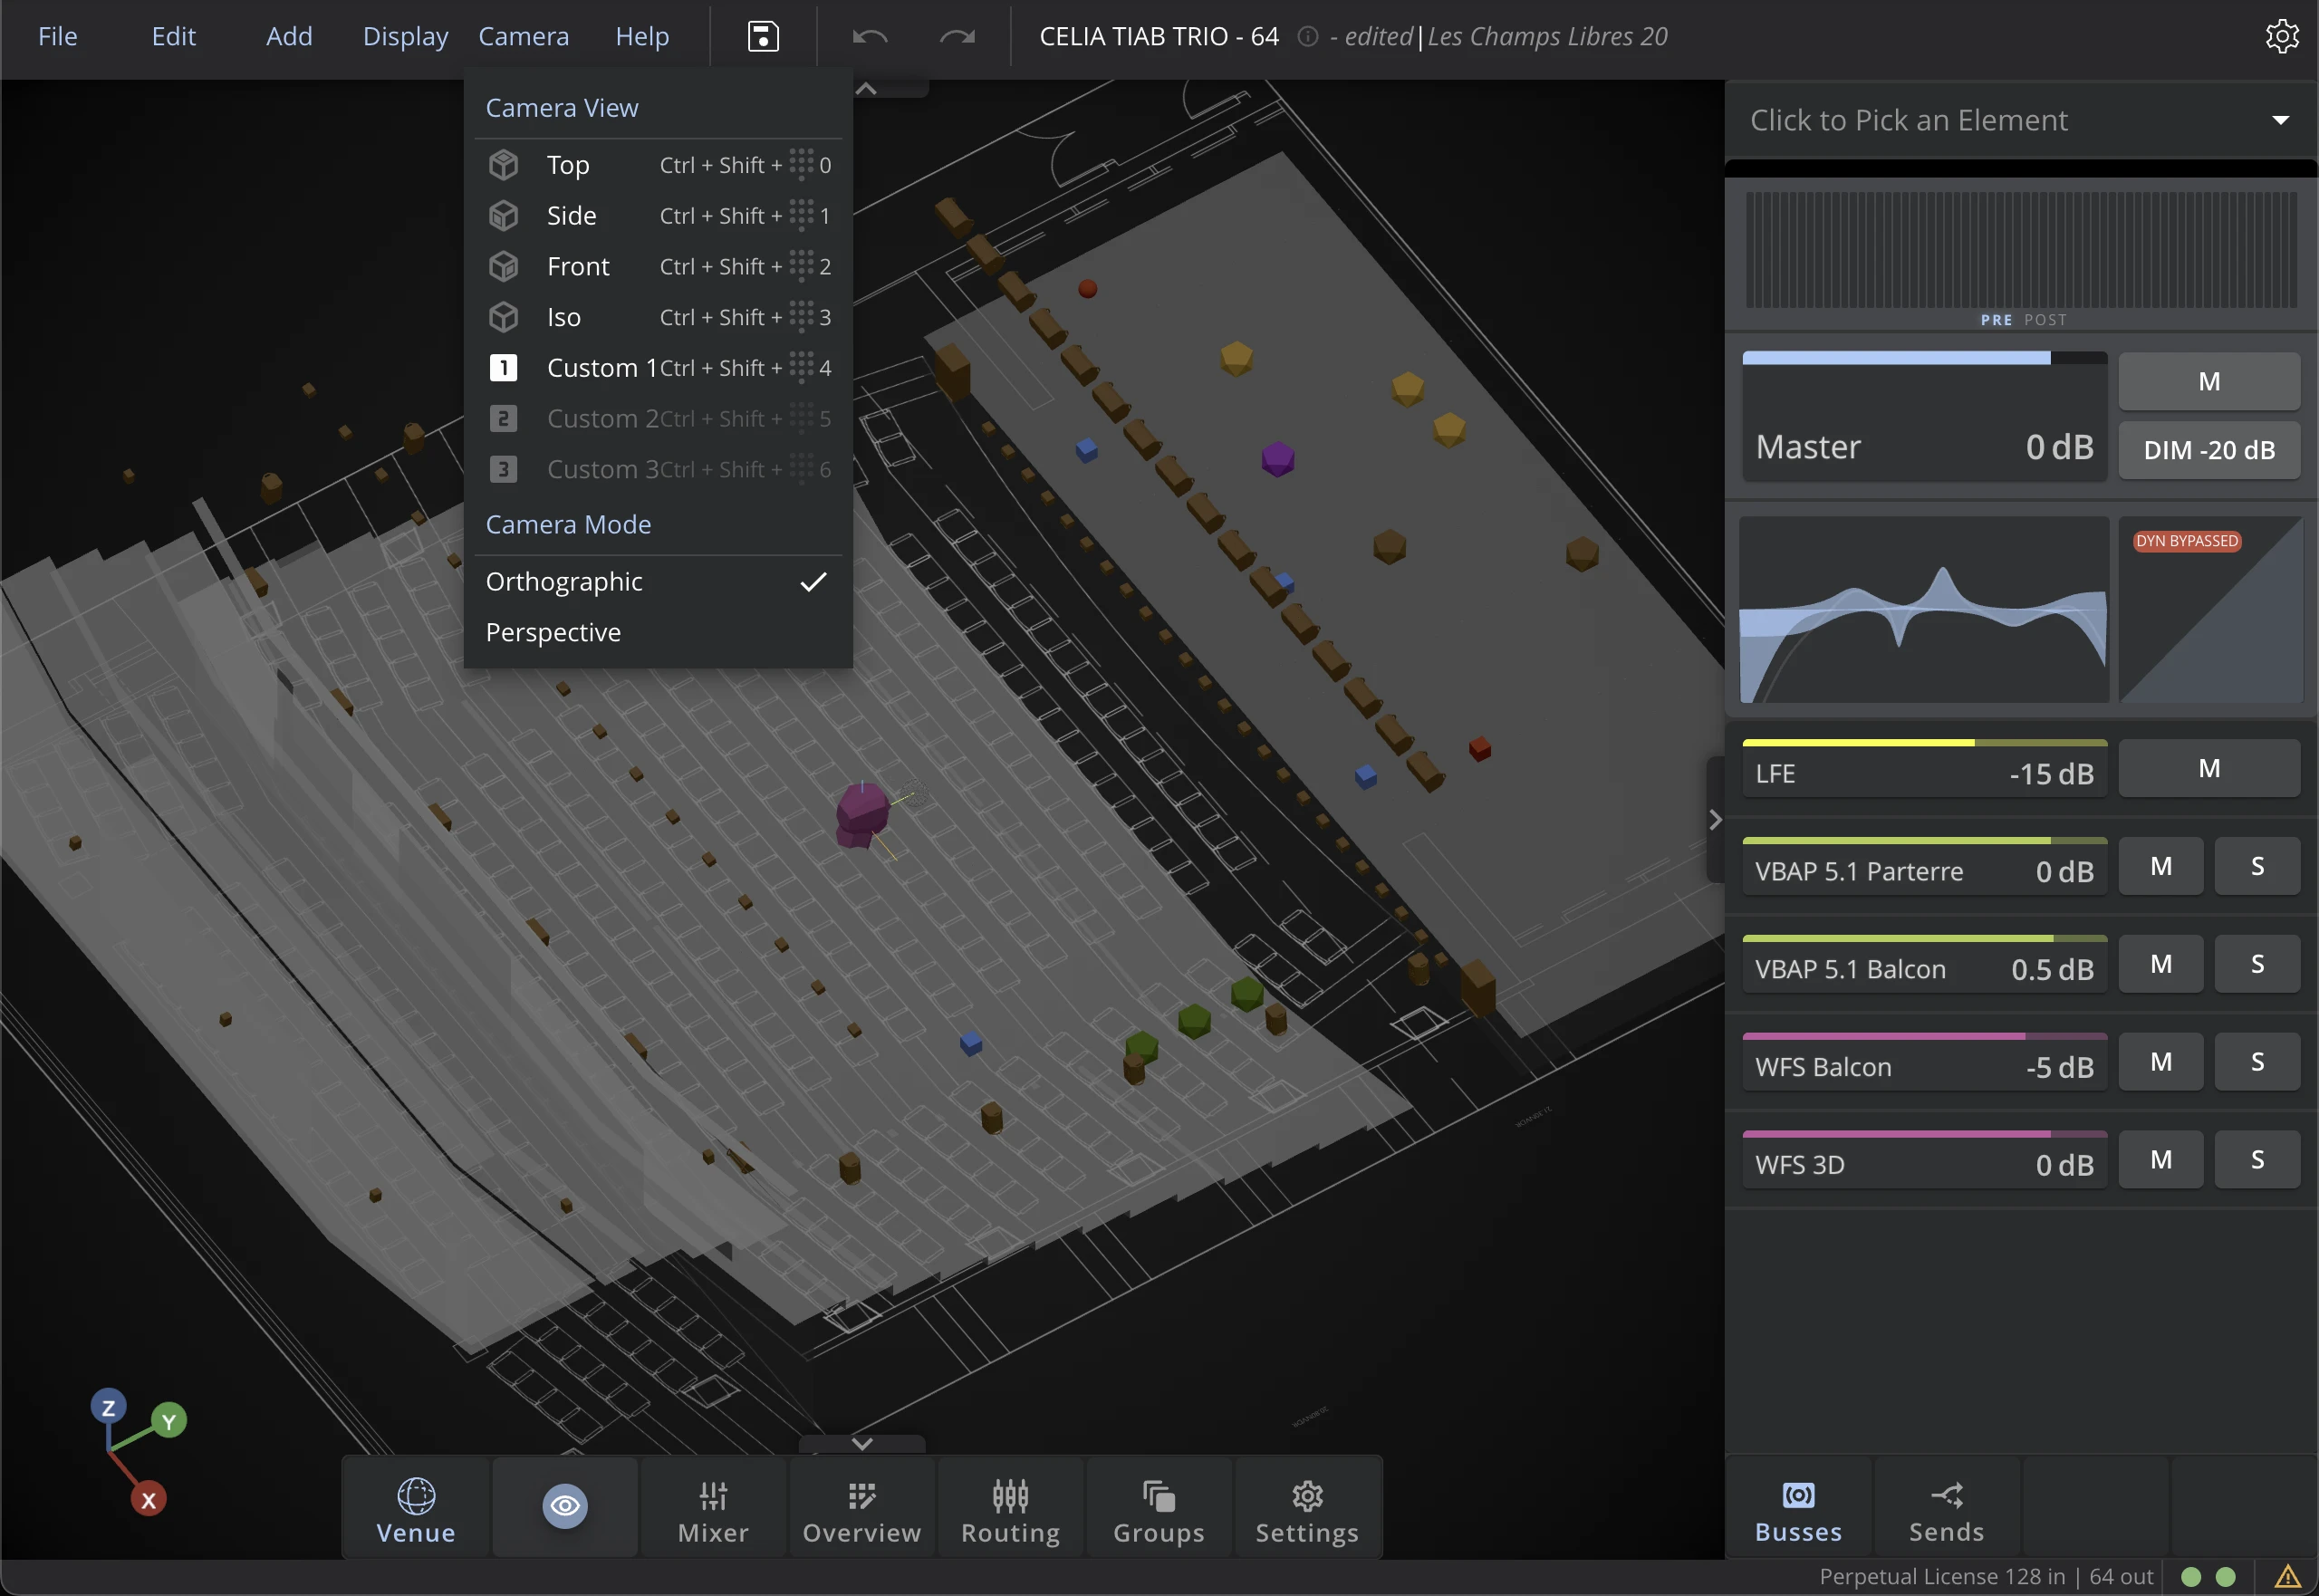
Camera View
In the Venue, the predefined and custom views allow for quick access to specific visualization angles. Four predefined orientations are available :
- TOP view
- SIDE view
- FRONT view
- ISO (perspective) view
Three additional custom views can be stored in memory. To save a new custom view, maintain the Shift key pressed and click on the custom view to save.
Shortcuts
You can recall the four predefined views using the following shortcut: Ctrl + Shift + [0 - 3].
The three custom views can be recalled using the same logic: Ctrl + Shift + [3 - 6].
Camera Mode
The Orthographic mode maintains the proportion of the objects wherever they are placed in the 3D environment. The Perspective mode offers a more natural visualization of the 3D environment.
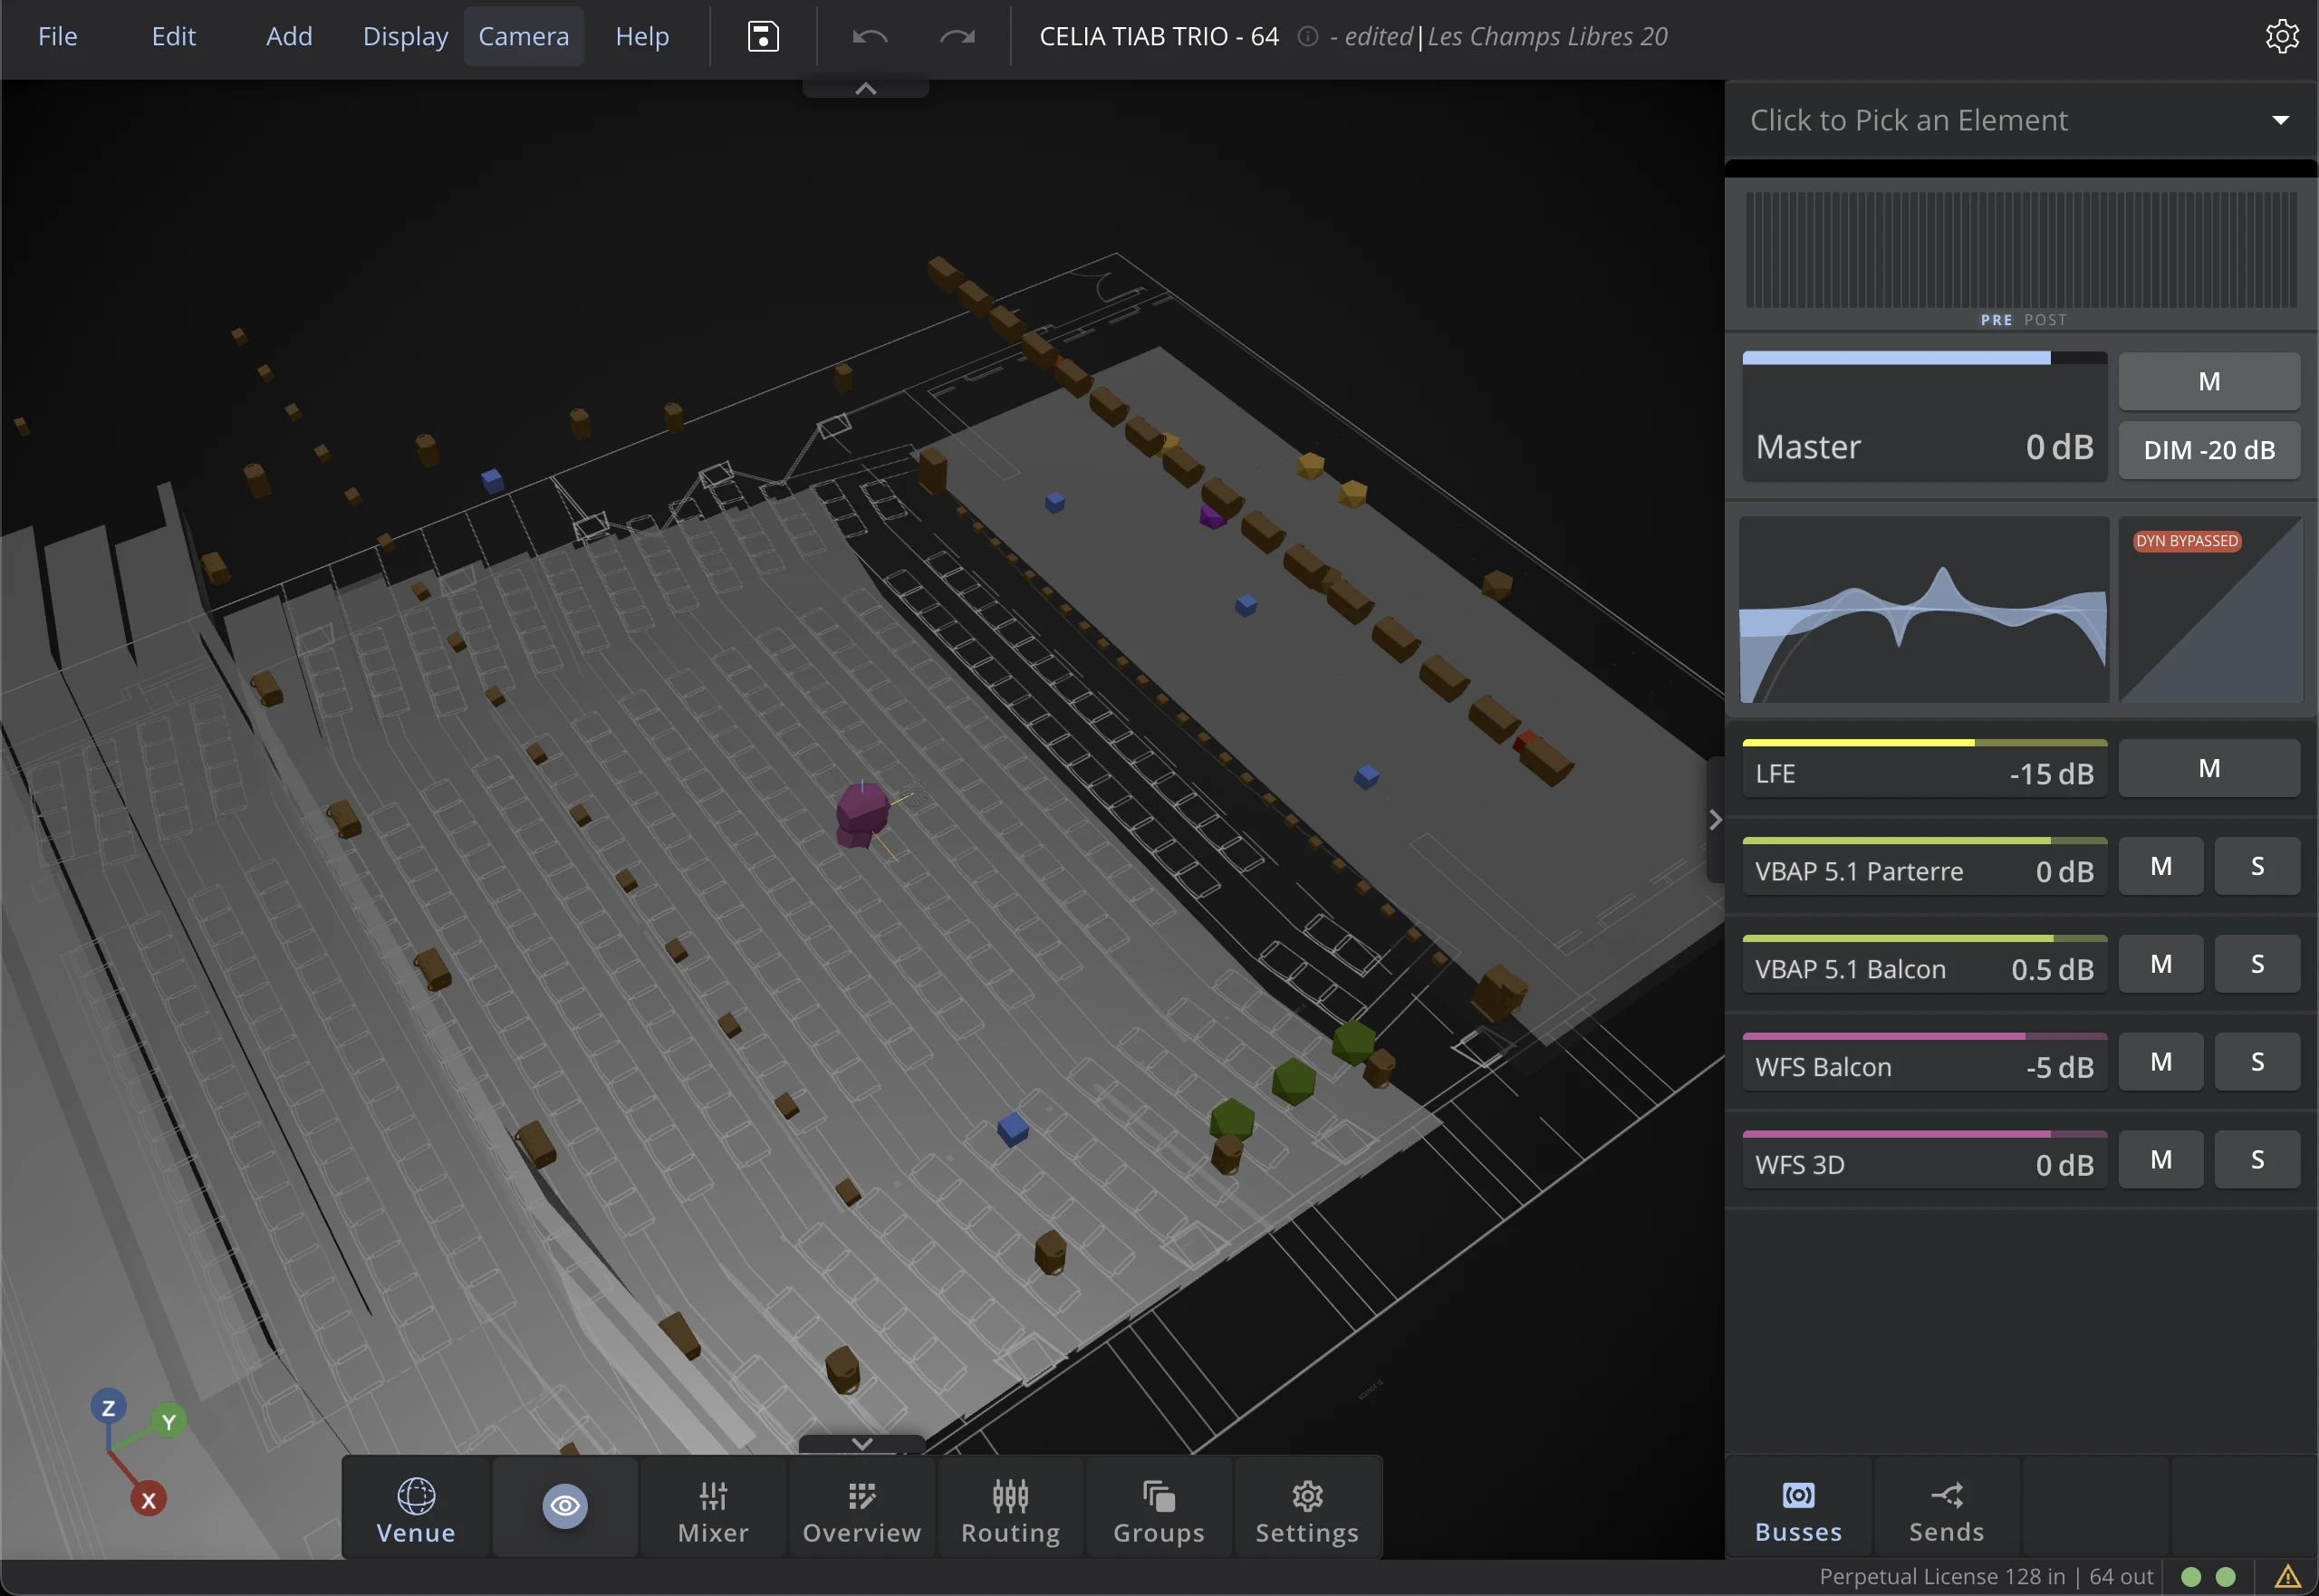

Venue orientation
The Venue can be freely moved with the mouse, by using the following key combinations:
- Adjusting the viewing angle: Ctrl + click & move
- Moving the Venue: Alt/Option + click & move or Middle mouse click & move
- Zoom in and out with your mouse wheel or your trackpad.
Contextual options
Solo Clear
When a SOLO is active on one or multiple sources, the SOLO CLEAR button will appear in the Option Bar.
Click on it to disable any active solos.
The SOLO options are only visible if the Solo & Monitoring option is set to Solo-in-Place in the Interface Settings. It this is set to Monitoring, the Clear Monitoring button will be visible instead to clear the current bus monitoring.
Check the Interface Settings section for more information.
Mixer contextual options
If the Mixer window is in full-screen, you will have access from the Option bar to the display options of faders and Vu-Meters.

Help Menu
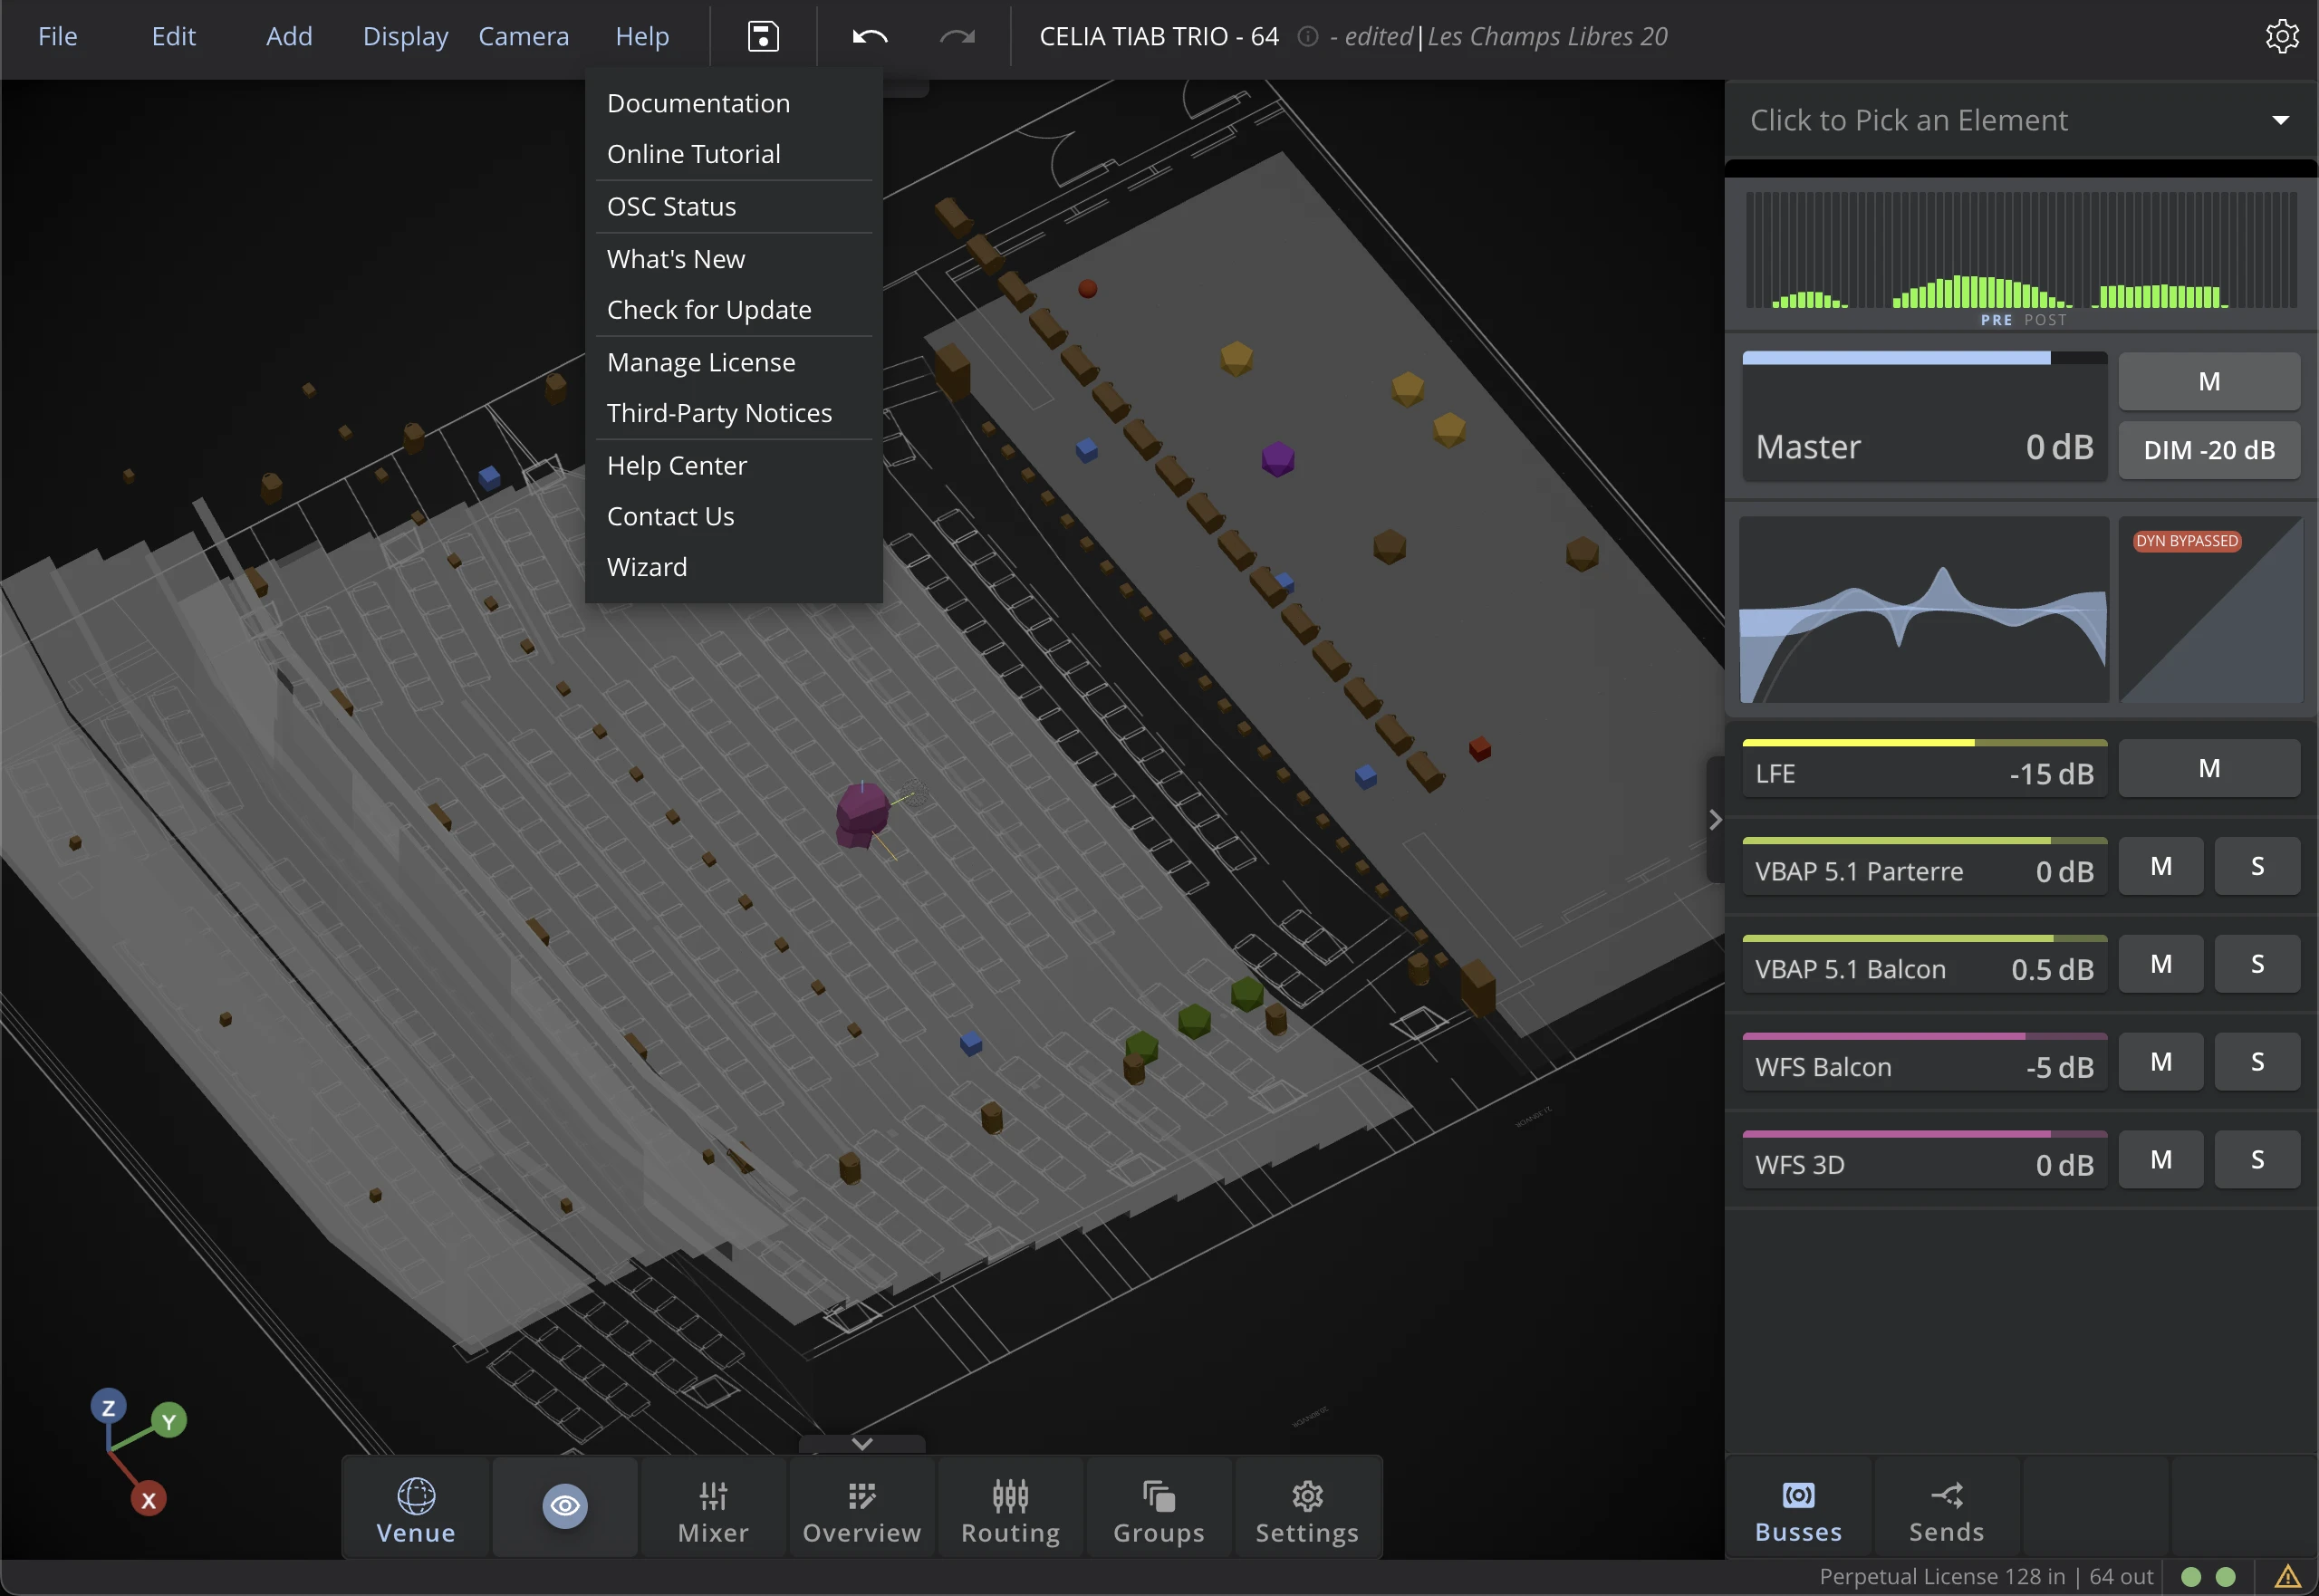
The Help menu provides access to various resources and tools to assist you in using HOLOPHONIX.
Documentation
Click on Documentation to open the comprehensive HOLOPHONIX documentation locally in HOLOPHONIX.
Online Tutorial
Access interactive tutorials through the Online Tutorial button to learn about HOLOPHONIX's features and workflows.
What's New
The What's New window showcases the latest features and improvements in your current version of HOLOPHONIX.
Check for Updates
Use the Check for Updates button to ensure you're running the latest version of HOLOPHONIX.
License Management
Access the license management interface to view, activate, or modify your HOLOPHONIX license.
Help Center
Connect to our online Help Center for additional resources, FAQs, and troubleshooting guides.
Contact Us
Find important contact information for technical support and general inquiries.
Setup Wizard
Launch the Setup Wizard for guided configuration of your HOLOPHONIX system.
Wizard
The new Wizard feature transforms the HOLOPHONIX setup experience with an intuitive, step-by-step guide. From launching a project to getting sound through the speakers, the Wizard ensures a seamless workflow that mirrors traditional mixing approaches.
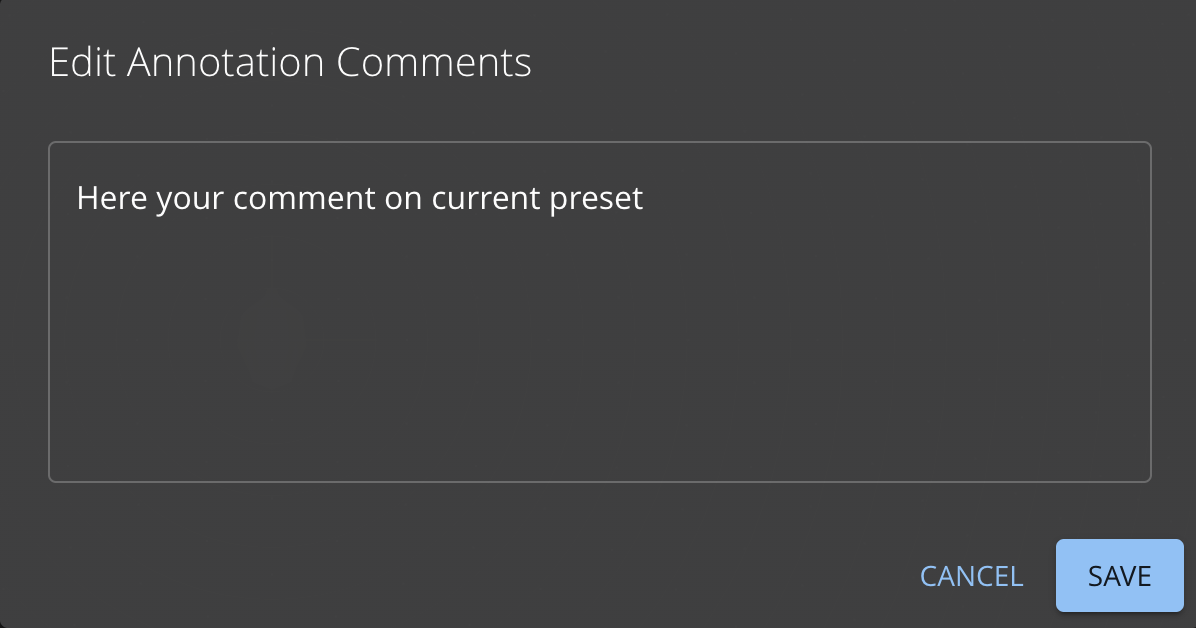
Preset and Project names

The names of the current Project and Preset are displayed in the menu bar. The pin between them provides quick access to editing the preset comment.